Sourdough Semolina Bread
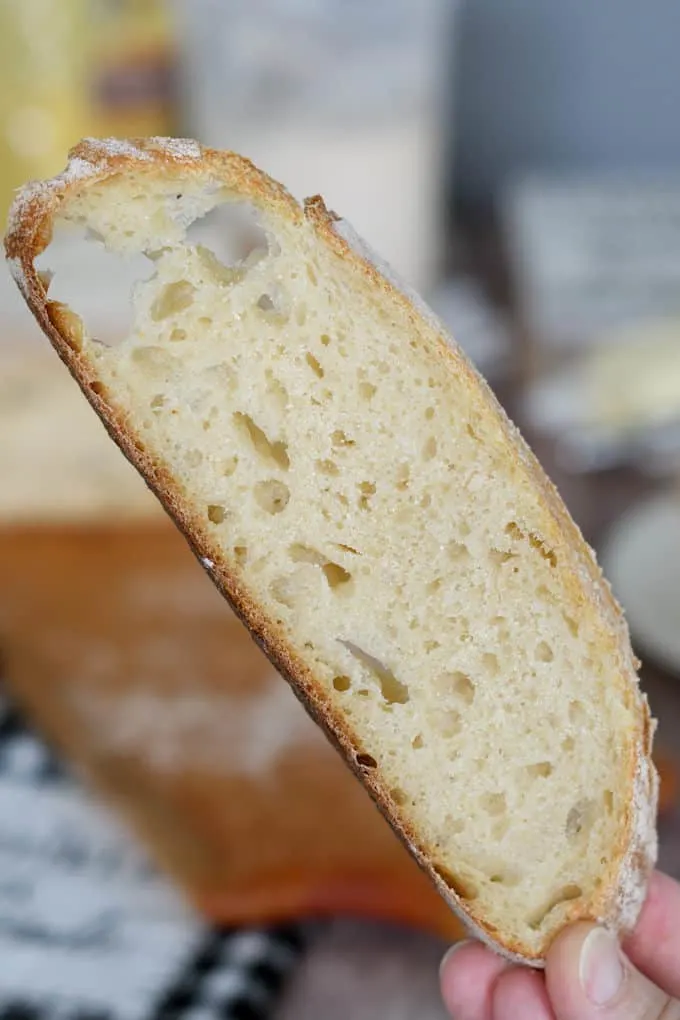
This Sourdough Semolina Bread Recipe produces an artisan loaf with a crisp crust and open, chewy crumb. It is best baked in a Dutch oven, but the recipe is very flexible and adaptable.
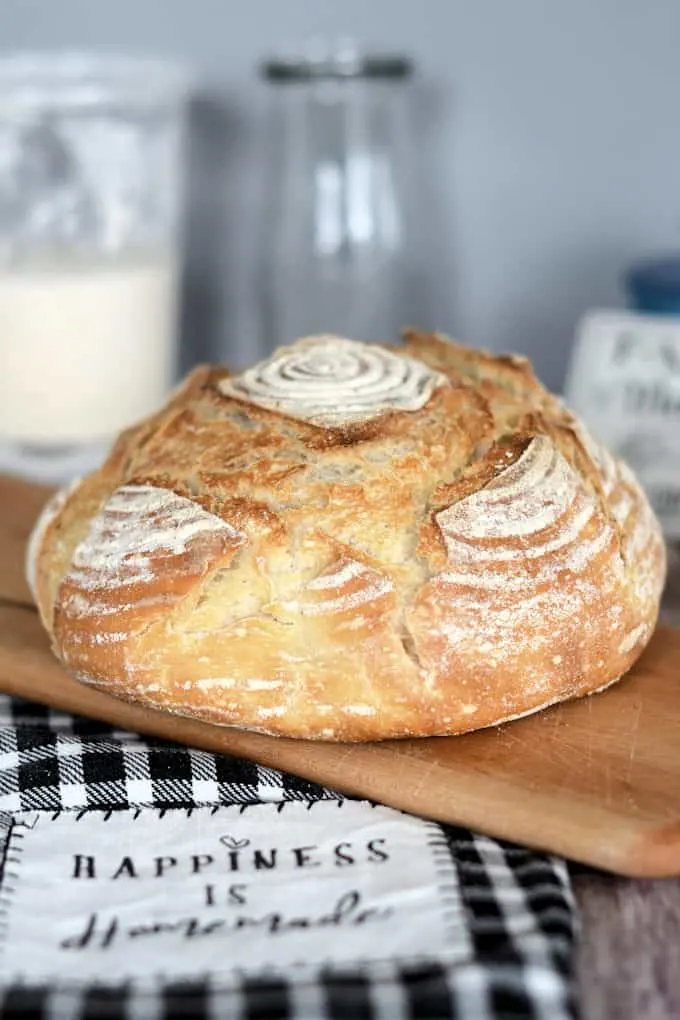
If you haven’t made a Sourdough Starter yet, try making this Crusty Semolina Bread made with commercial yeast while you’re waiting for your starter to mature.
What is semolina flour and is it good for baking bread?
Semolina flour is made from a different strain of wheat than all purpose or bread flour. Semolina is made from Durum, a high protein wheat.
Semolina is the flour used to make pasta. It has a slightly yellow color thanks to the high concentration of carotenoids in the wheat. The carotenoids also add subtle nuttiness that makes for a great tasting loaf of bread.
What does all this mean? High protein plus lovely yellow color plus delicious taste equals a flour is that is perfect for bread baking!
In the market you may see coarsely ground semolina or more finely ground flour labeled “durum” flour. As long as you’re using a product made from durum wheat you’ll make a nice loaf of bread. I used both with great success.
A timeline for making great Sourdough Semolina Bread:
- If your starter needs feeding, do that the night before or early in the morning of the day you want to make the dough.
- Mix the dough in the afternoon, allow it to ferment for 3-6 hours then refrigerate the dough before going to bed.
- Take the dough out of the refrigerator first thing in the morning, shape the loaf and set it into the proofing basket or onto a sheet of parchment paper to rise.
- Leave the loaf to rise for 1 1/2- 2 hours, or as long as is needed to almost double in size. Meanwhile, if using a Dutch oven or pizza stone for baking, place them in the oven to preheat.
- You should have fresh bread by lunch time.
- To make and bake the dough in the same day, feed your starter the evening before so it’s active by morning. Start the dough early in the morning and it should be ready to bake by late afternoon or early evening.
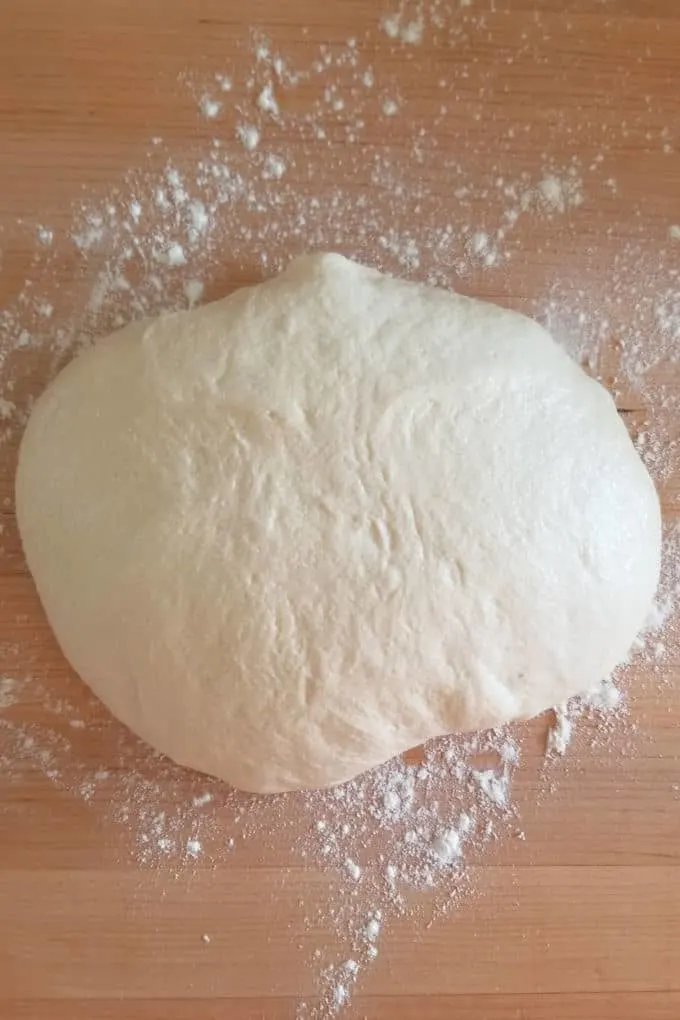
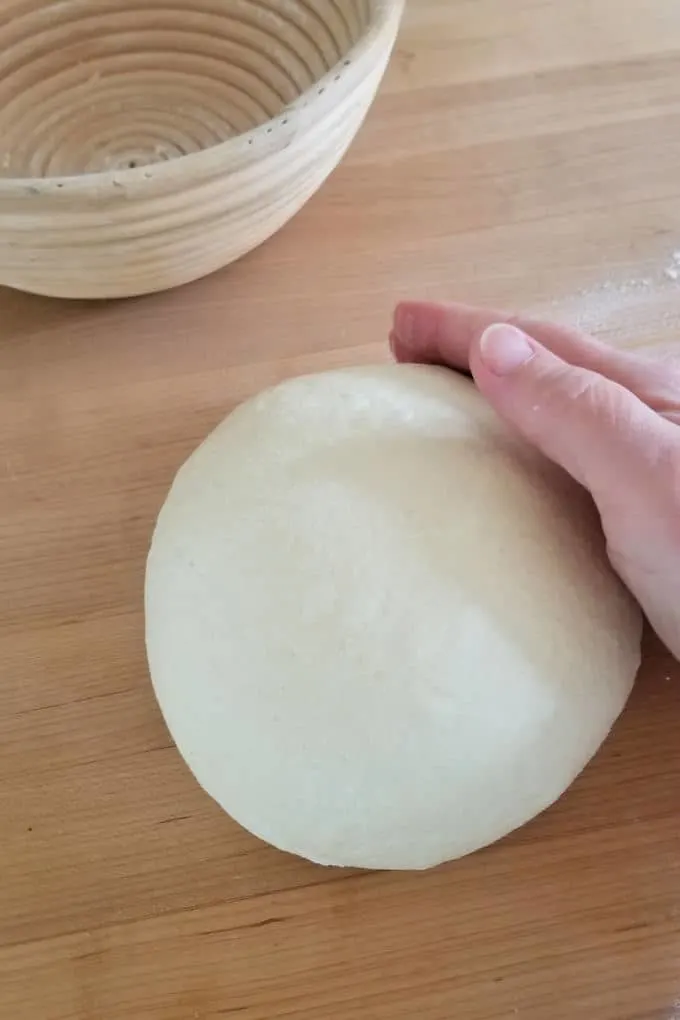
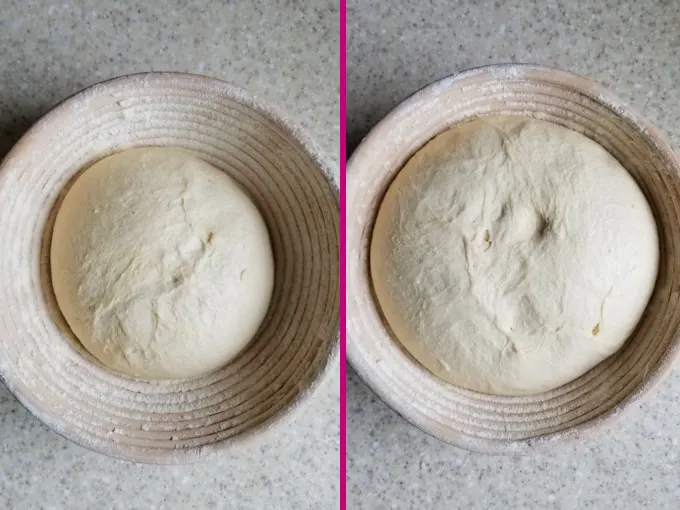
Scroll through the step by step photos to see how to make Crusty Sourdough Semolina Bread
I know you hate to throw away that sourdough discard. Check out these recipes that use sourdough discard.
If you love this recipe as much as I do, I’d really appreciate a star rating and a quick comment. Ratings and comments help my recipes show in search results. Thanks!
Sourdough Semolina Bread Recipe
Ingredients
- 8 oz active sourdough starter (1 cup, 100% hydration)
- 8 oz warm water (1 cup)
- 9 oz unbleached all purpose flour (1 ¾ cups, see note)
- 1 ½ teaspoons table salt
- 6 ½ oz semolina flour (1 cup)
Instructions
- Combine 8 oz active sourdough starter, 8 oz warm water and 1 1/2 cups of the all purpose flour. Mix with the paddle on low speed until it forms a thick batter. Cover the bowl and set aside for 30-60 minutes.
- If using a stand mixer, switch to the dough hook. Add 1 ½ teaspoons table salt6 ½ oz semolina flour and the remaining 1/4 cup all purpose flour. Mix until the dough begins to form a ball around the hook. If mixing by hand add the flour using a wooden spoon and/or a plastic bowl scraper. This dough will be fairly sticky at this point. Knead for 5 minutes.
- Place the dough into a lightly oiled bowl, turn once to coat the dough. Cover the bowl and set it aside at room temperature.
- After 30 minutes uncover the bowl, lift one side of the dough and fold it into the middle of the dough. Repeat with the other three sides of the dough then flip the dough over. You’re basically turning the dough inside-out to redistribute the yeast. Cover the bowl and after 30 minutes repeat the procedure. Cover the bowl and after 60 minutes repeat the procedure again.
- Cover the bowl and after 60 minutes turn the dough one more time. By now the dough should be lively, elastic and airy. If the dough is still sluggish give it another hour or two at room temperature. Cover tightly and refrigerate overnight.
- Remove the dough from the refrigerator and dump it onto floured surface. Without kneading, use your cupped hands to form the dough into a smooth ball. Cover lightly with a kitchen towel or plastic wrap and let the dough rest for 20-30 minutes.
- Uncover the dough and reshape the dough into a smooth ball. Combine the 2 tablespoons of semolina and all purpose flour and use that to dust the proofing basket. Place the dough, smooth side down, into the proofing basket. If you don’t have a proofing basket set the dough directly onto a sheet of parchment paper or onto a wooden peel sprinkled with the semolina/ap mix.
- Cover the dough and leave in a warm place until it's almost doubled in size and it springs back slowly when poked, about 1 1/2-2 hours depending on the room temperature and dough temperature. Meanwhile, preheat the oven to 425 °F. Place a Dutch oven with a lid (or a pizza stone) into the oven to preheat.
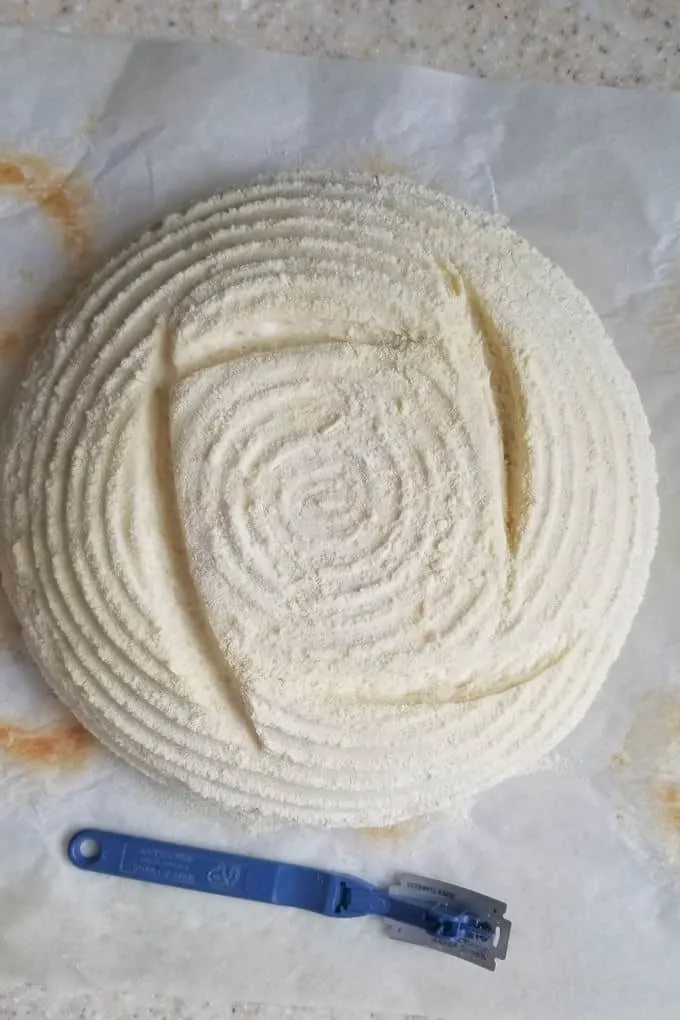
- If the loaf is in a proofing basket, place a sheet of parchment over the dough and gently flip it over. Use a single edge razor or very sharp knife to cut a 1/4" deep X or square across the top of the loaf. Remove the preheated pan from the oven and remove the lid. Use the parchment to lift the loaf into the Dutch oven. If you don’t have a Dutch oven, slide the parchment paper onto a baking sheet or slide the loaf onto the baking stone.
- Replace the lid on the pot and slide it into the oven. Bake for 20 minutes. Remove the lid from the Dutch oven. The loaf should be well risen and pale in color.
- Continue baking another 20 minutes until the loaf is nicely browned and beginning to crisp. Remove the pan from the oven. Use the parchment to lift the loaf out of the pan. Use the parchment to place the loaf directly onto the rack in the oven. Bake another 5-10 minutes until the loaf is deeply browned and very crisp. Total baking time is about 40-50 minutes. If you’re baking the bread on a sheet pan or baking stone the total baking time may be shorter.
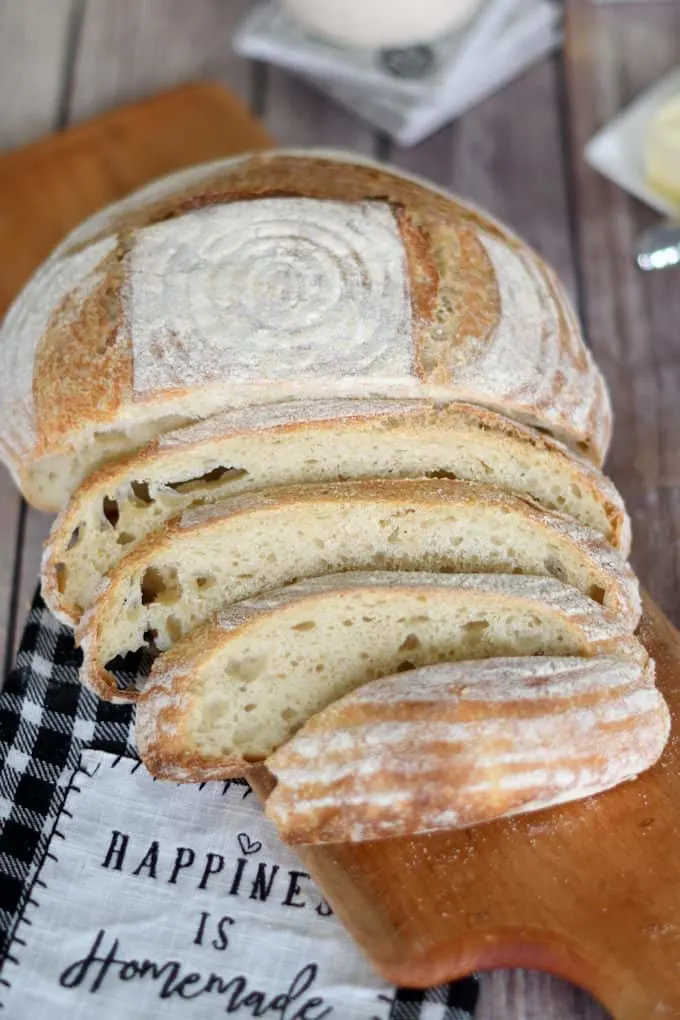
- Cool completely on a wire rack before slicing.
Would you like to save this recipe?
As an Amazon Associate and member of other affiliate programs, I earn from qualifying purchases.





I love this recipe! I just made my tenth and best loaf. I do increase the salt to 2 teaspoons and I give it an egg white wash and add some toppings (za’atar) but even plain it’s great. Do you find it tends to come out a little more dense than most sourdoughs?
I’ve made this recipe twice in two weeks. It’s come out great both times. In fact, it’s the first loaf I’ve felt comfortable enough to give as a gift.
I have made this recipe three times now…..in less than a week. This is the first time I have had a really good loaf of bread using my sourdough starter. The other loaves have been ok, maybe even good, but not spectacular like this! I used my Challenger Bread pan and an ice cube to facilitate a good rise and crispy crust! Thanks for a great bread!
I’ve been baking sourdough for over a year now. I’ve never put in the banneton to rise. I always do full ferment on bench. Then cold retard overnight in fridge.
Can you tell me more about your method. Is there a theory to why it’s better to do like this??
Thanks
No theory. I just developed a system that works for my schedule and life.
Can you bake this in a loaf pan?
Thanks.
It’s a pretty big loaf for a standard loaf pan. If the unbaked dough takes up more than about 1/3 to 1/2 of the pan it will probably rise too much to fit in the pan. If you don’t have a dutch oven you can just bake it on a sheet pan lined with parchment paper or sprinkled with semolina/cornmeal.
@Eileen Gray, or she could bake it in a large cast iron skillet that was preheated in the oven.
Hi,
is it possible to make a boule out of this? I’m so sorry, I am simply not able to do the math, could you please tell me what hydration is it?
Thank you!
“Boule” is simply french for “ball”. Since this loaf is shaped into a ball it is a “boule”. To calculate the hydration of the dough you divide the weight of the water by the weigh of the flour. The starter is 8oz, which means it has 4 oz of water and 4 oz of flour. The 4 oz of flour in the starter is added up with 9 oz of ap flour plus 6.5 oz of semolina flour for a total of 19.5 oz of flour. The 4 oz of water in the starter is added with the 8 oz of water for a total of 12 oz of water. 12 oz of water divided by 19.5 oz of flour comes to 61.5% hydration.
Thank you so much, Eileen, very clear and helpful explanation <3
I meant „boule” in the sense that I don't have a dutch oven or a tray in which to bake it in. I'm baking it directly on a stone, so I need it to retain its own form, therefore I need the batter to be firm, That's what I asked about the hydration.
Thank you again! <3
Is it possible to skip refrigerating the door and just a proof on the counter to make this a one day process? If so how long do you think? I was thinking 2 hours.
“To make and bake the dough in the same day, feed your starter the evening before so it’s active by morning. Start the dough early in the morning and it should be ready to bake by late afternoon or early evening.” The entire process would certainly take longer than 2 hours, not sure if that’s why you meant. The timeline would be the same as outlined in the recipe. Except if you go right on to shape and proof the dough I would guess it would take 1 1/2-2 hours to proof. As with everything sourdough, the times are an estimate.
Hi, I am trying to bake your sourdough bread from starter recipe. I do not have dutch oven or pizza stone. What is the other option to bake the bread? Can I use CorningWare, if yes, how do I go about the baking process? Thanks in advance!
From step 9 in the recipe “If you don’t have a Dutch oven, slide the parchment paper onto a baking sheet or slide the loaf onto the baking stone.” If you don’t have parchment paper you can sprinkle a baking sheet with cornmeal to prevent sticking. If you have a large metal mixing bowl you ca place that over the loaf for the first 20 minutes to create an environment similar to the dutch oven. Baked on a sheet the crust won’t be quite the same, but the loaf will still be tasty.
Hi Eileen, CorningWare or other glass casserole dish with a lid have worked very well for me as a substitute for a dutch oven. What is the reason for not recommending CorningWare?
No particular reason. I just do it in the Dutch oven so that’s the way I wrote the recipe. Thanks for letting us know that it works in a different pan.