Honey Oatmeal Bread
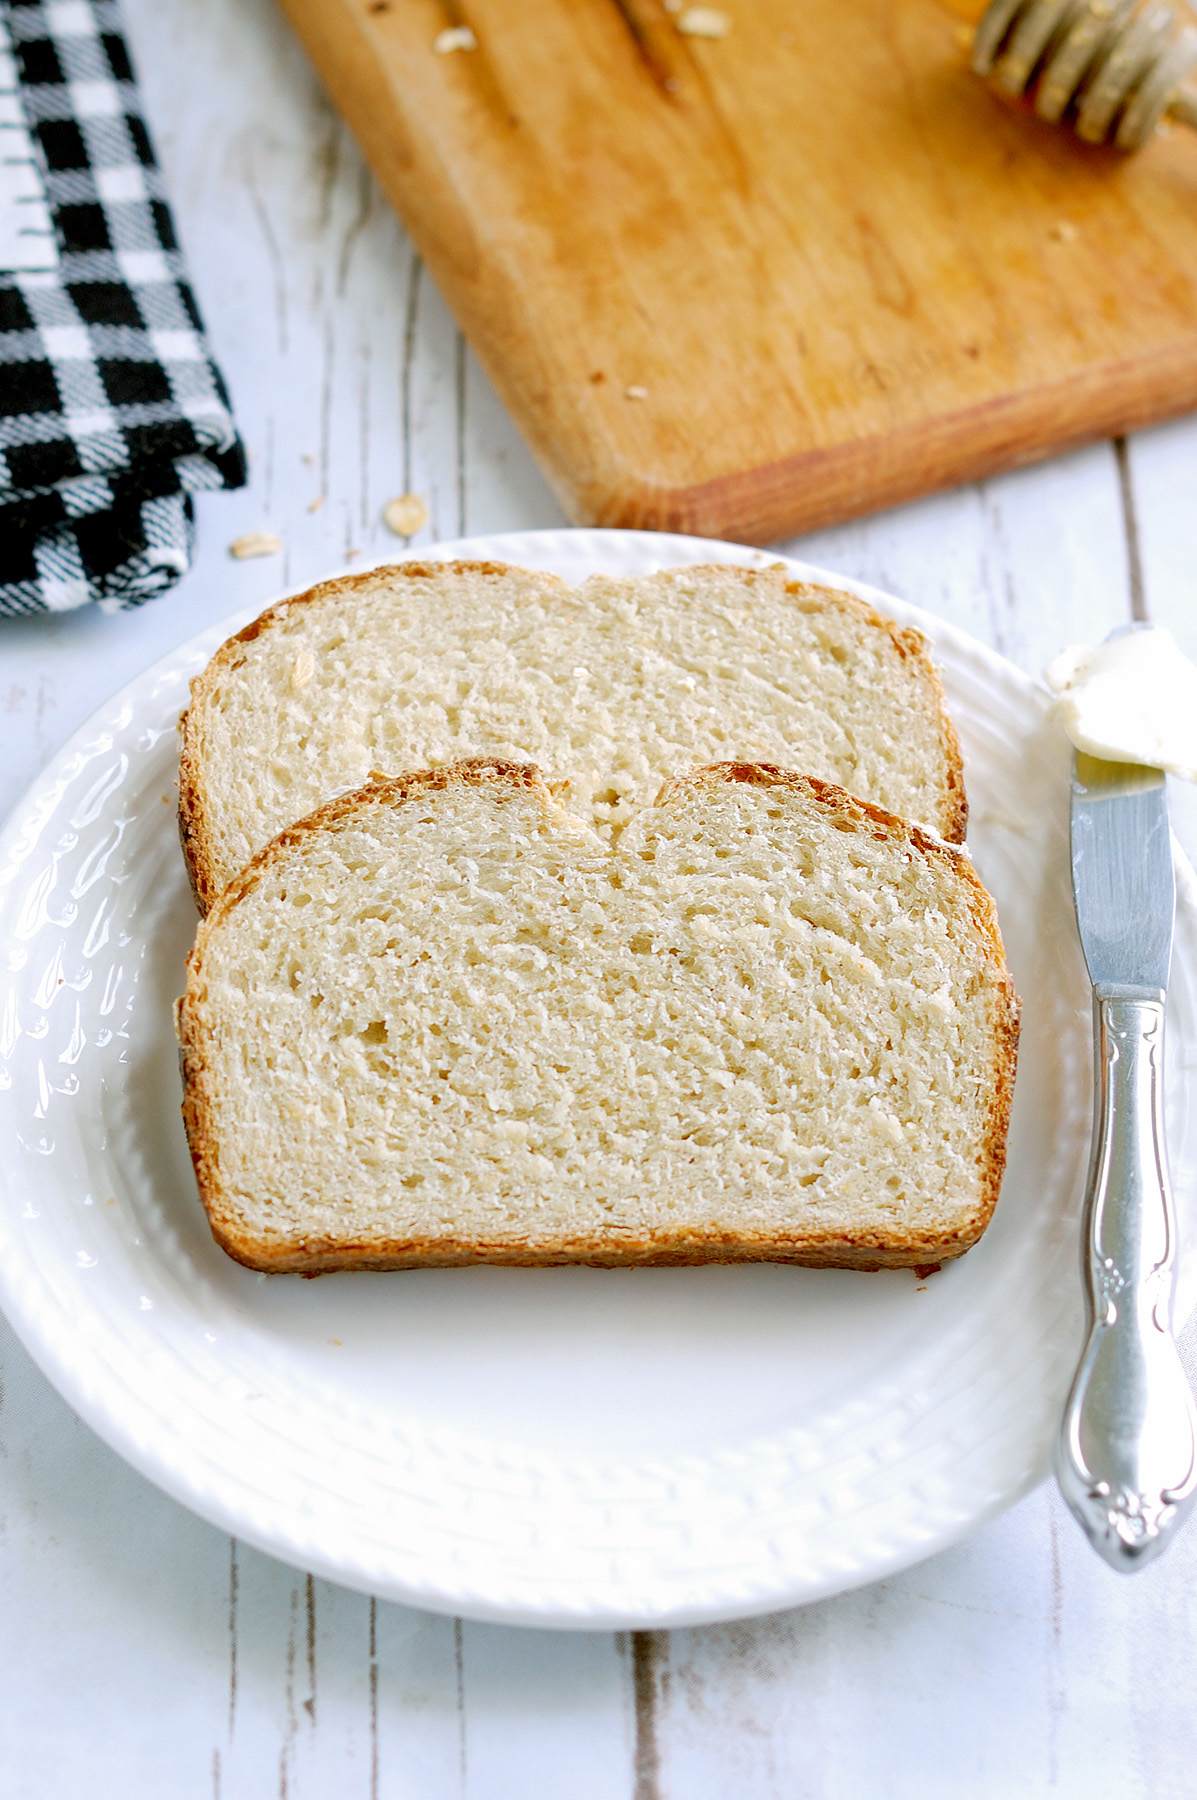
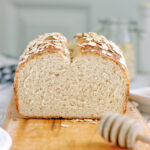
Honey Oatmeal Bread has a soft crumb and hearty oatmeal flavor. The hint of honey is delicious and it helps keep the loaf fresh for several days.
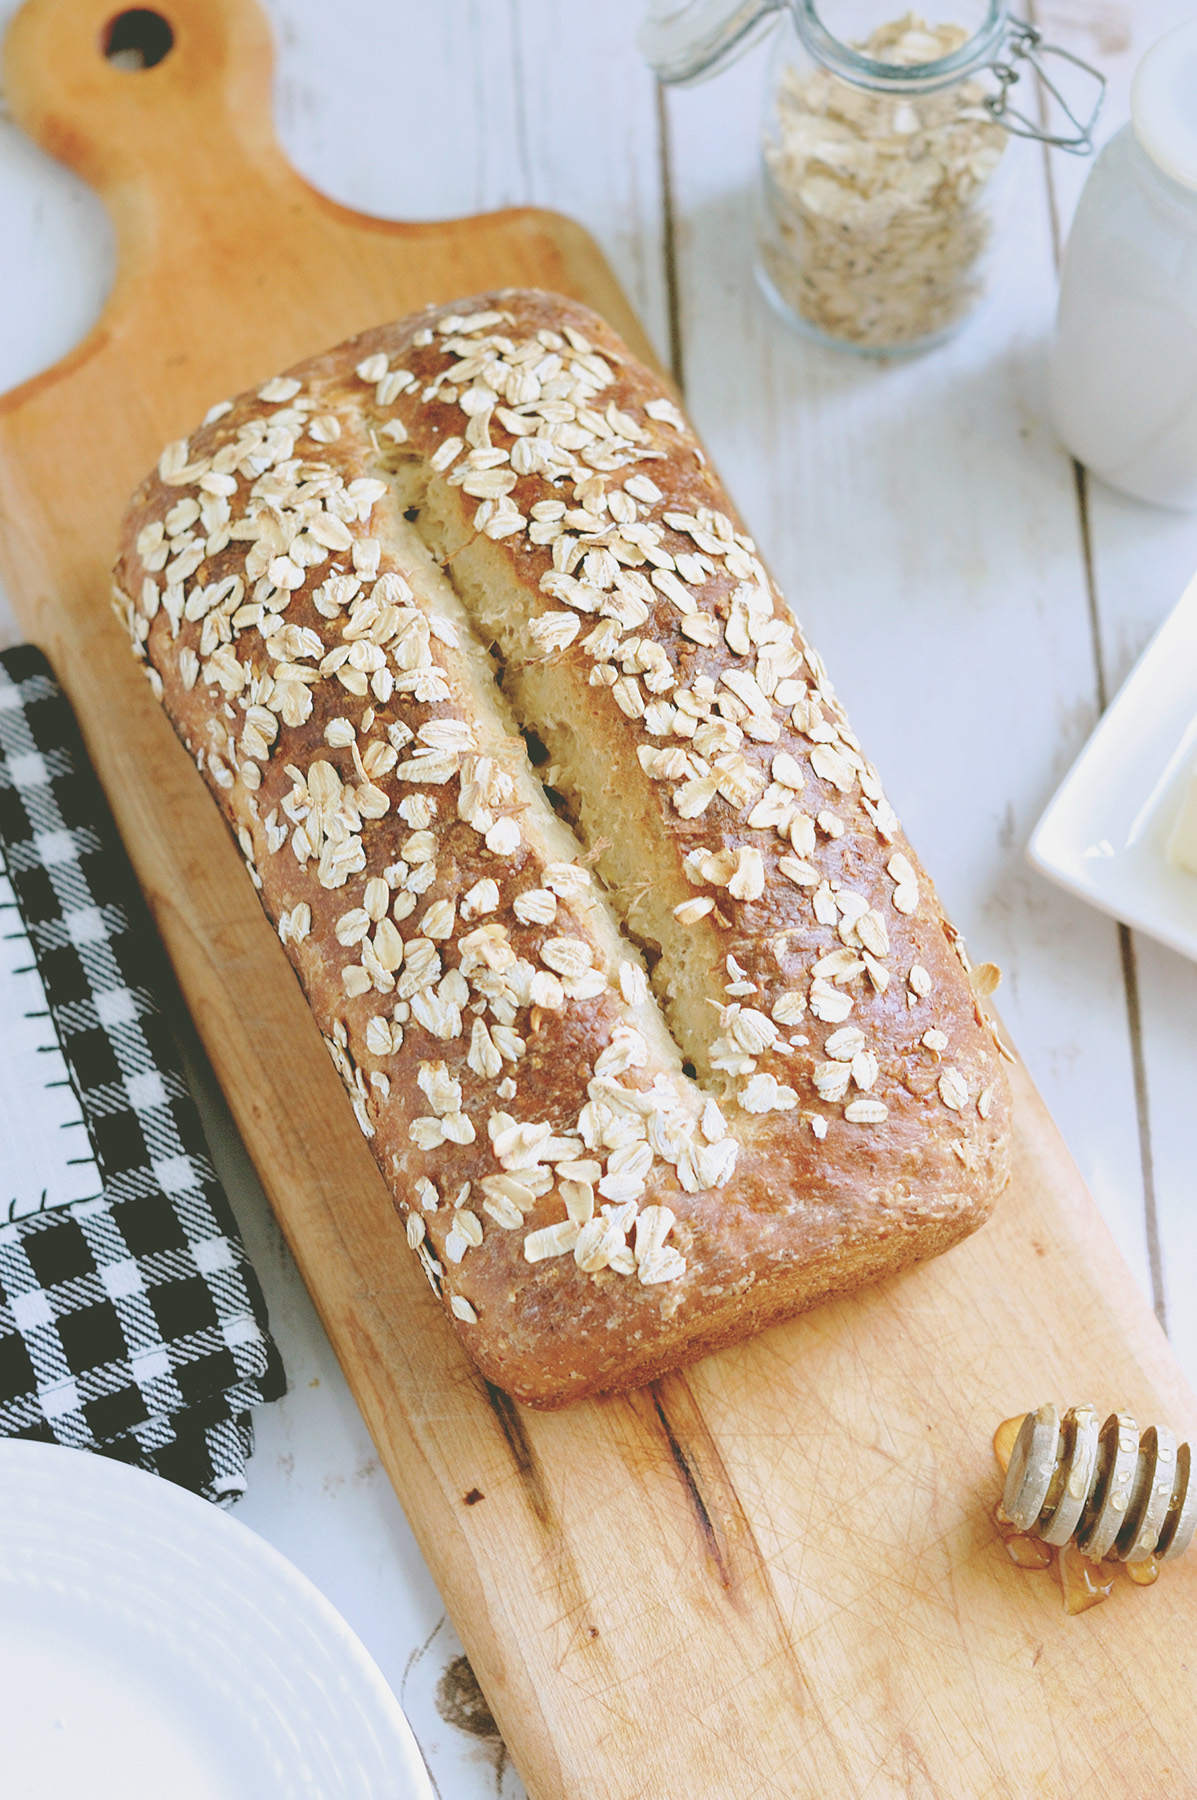
Honey Oatmeal Bread is a fantastic sandwich loaf, but it also makes killer french toast and an awesome grill cheese sandwich. Seriously, this bread with cheddar cheese and thin slices of apple is the grilled cheese of your dreams.
I love the subtle sweetness added by the honey and the chewy, slightly nutty flavor from the rolled oats.
Ingredients
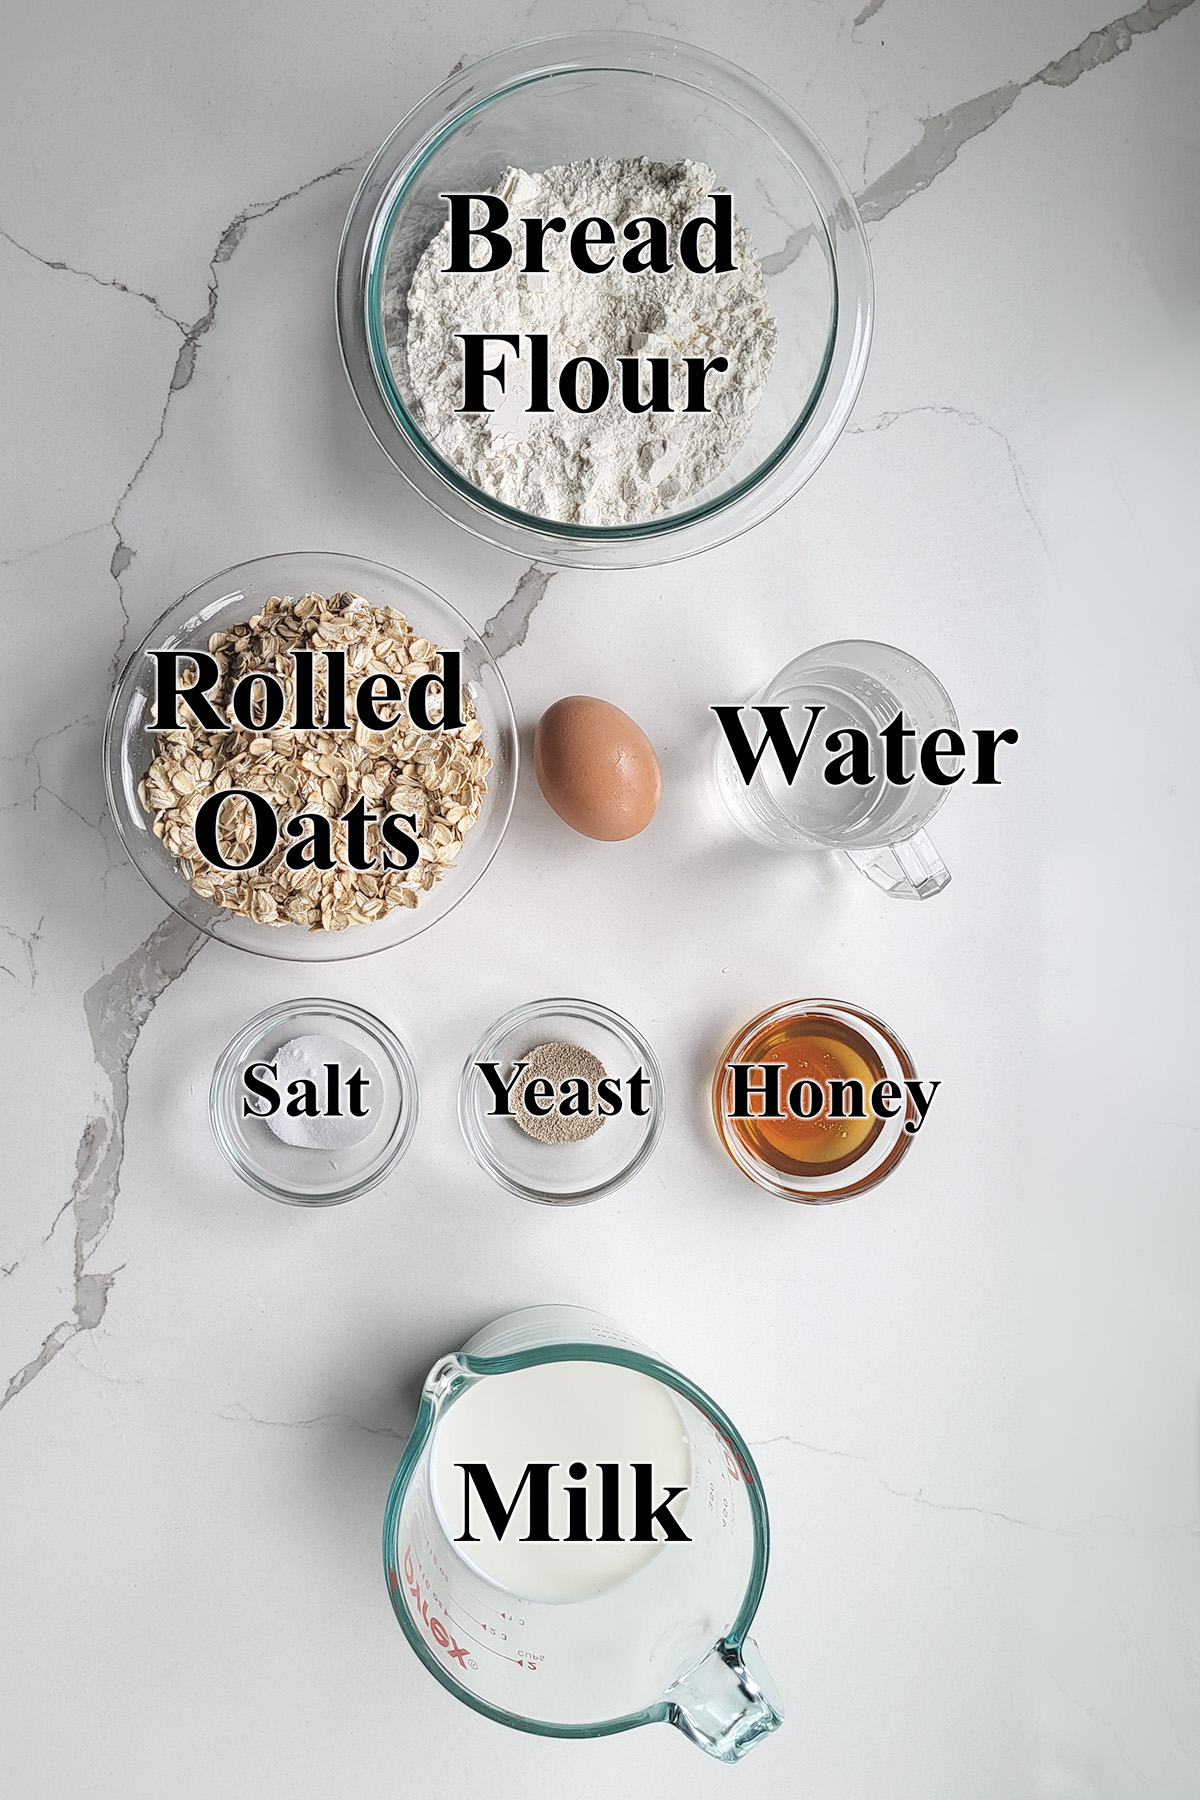
Ingredient Notes
- Bread Flour – Oats don’t develop gluten to support the bread structure. High protein bread flour gives the dough structure so it can rise in the oven.
- Rolled Oats – Use old fashioned rolled oats. They are thicker than quick oats which gives the bread a hearty texture. In a pinch you can use quick oats.
- Yeast – I prefer instant yeast to rapid rise yeast for a slightly slower rise. A slower rise gives more time for flavor to develop.
- Honey – Adds wonderful flavor, enhances browning and makes the crumb soft and slightly sweet.
Process Photos
See the recipe card for detailed measurements and instructions.
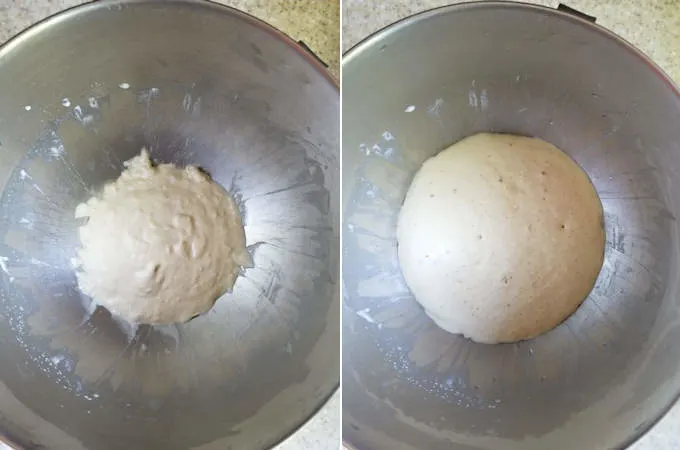
- Create a sponge and set it aside for 30-60 minutes.
- This will give the yeast a head-start and begin forming a good gluten network in the dough.
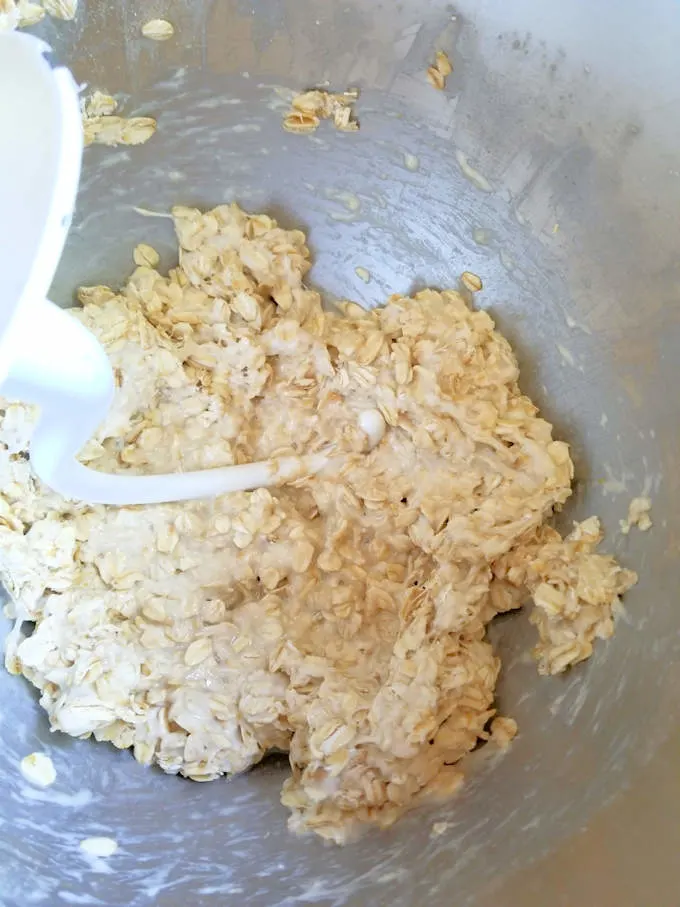
- Add the milk, oats and remaining flour.
- Use the dough hook of a stand mixer or knead by hand. If using a stand mixer, knead until the dough gathers on the hook and clears the sides of the bowl.
- Set the dough aside to rise until doubled in volume. At this point the dough can be refrigerated for up to 2 days or you can proceed with shaping and baking the bread.
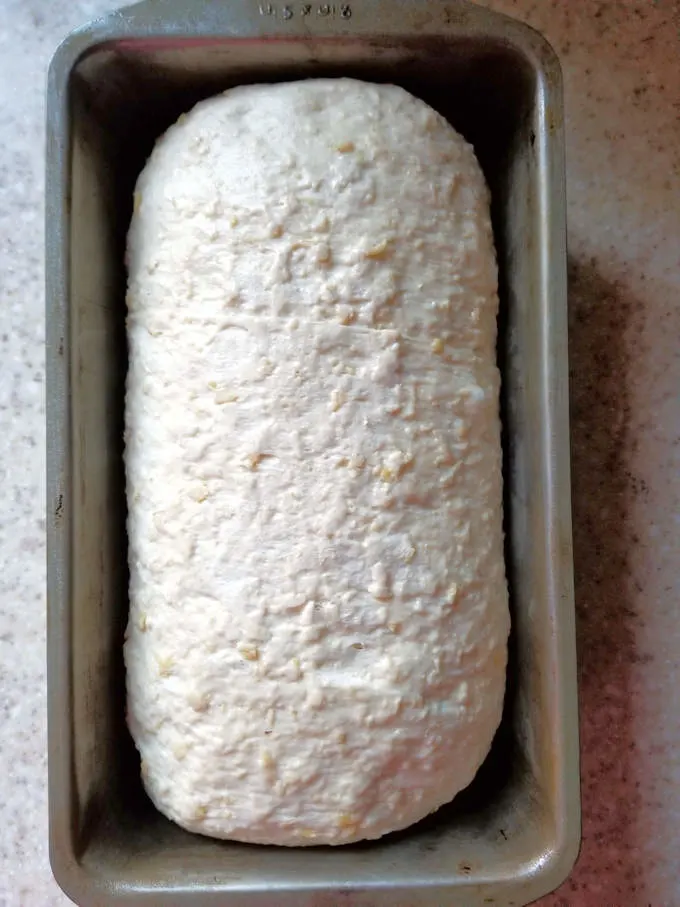
- Turn the dough out onto a floured surface. Pat the dough to a 9″ rectangle. Tightly roll the dough to form a log. Pinch the seam to seal. Place the loaf in a lightly oiled loaf pan.
- Set the loaf aside to rise until it doubles in size and almost fills the pan.
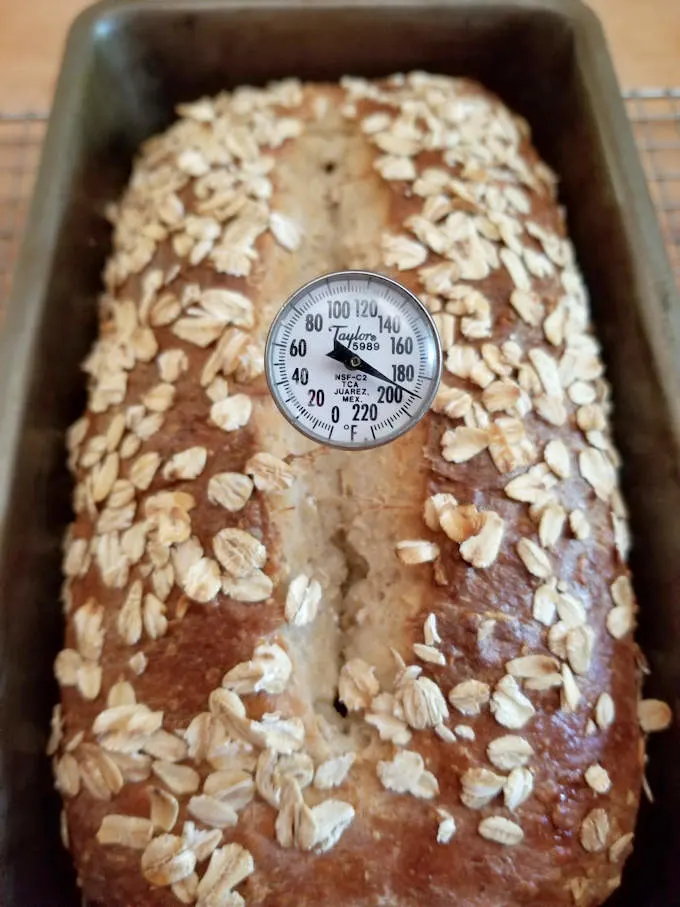
- Bake until the loaf is well-rise, golden brown and the interior temp is 200 ° F.
- Cool completely before slicing
Storage
- As with most yeast bread, Honey Oatmeal Bread is best the day it is baked.
- Thanks to the milk, oats and honey in the bread it will keep at room temperature for 2-3 days.
- The bread can be frozen as a whole loaf or pre-sliced.
- Previously frozen slices can be toasted. A loaf can be defrosted then warmed in a 200F oven to re-crisp the crust.
Hey bread lover, you might also want to try these other great sandwich breads; White Sandwich Bread, Milk & Honey Whole Wheat Bread, Multi-Grain Bread, Overnight Rye Bread, Marble Rye Bread, Low Knead Whole Grain Bread.
If you love this recipe as much as I do, I’d really appreciate a star rating and a quick comment. Ratings and comments help my recipes show in search results. Thanks!
Honey Oatmeal Bread
Ingredients
- 4 oz warm water (½ cup)
- 2 ¼ teaspoons dry yeast
- 12 ½ oz bread flour (2 ½ cups, see note)
- 8 oz whole milk (1 cup)
- 2 tablespoons honey
- 1 ½ teaspoons table salt
- 5 oz old fashioned rolled oats (1 ½ cups)
- 1 egg (for egg wash)
Instructions
- In the bowl of a stand mixer or a large mixing bowl combine 4 oz warm water, 2 ¼ teaspoons dry yeast and 1/2 cup of the bread flour to form a smooth batter. Cover the bowl and allow the sponge to rise for 30-60 minutes.
- Scald 8 oz whole milk in the microwave then set it aside to cool to about 100°F. Add the cooled milk, 2 tablespoons honey and 1 ½ teaspoons table salt to the mixing bowl. Add 5 oz old fashioned rolled oats. Add another cup of the bread flour and stir until the batter looks like thick pancake batter. If using a stand mixer, switch to the dough hook.
- With the mixer running, slowly add the remaining bread flour. Knead the dough for 4-5 minutes until the dough gathers on the hook and clears the sides of the bowl. If mixing by hand, add as much of the flour by hand as you can then finish kneading in the remaining flour.
- Dump the dough onto a lightly floured surface and knead to form a smooth ball.
- Place the dough in a lightly oiled bowl, turning once to coat the dough. Cover with plastic wrap and set aside in a warm spot to rise for about 1-1½ hours until doubled in size. (See note).
- Grease a 9"x 5" loaf pan with a light film of vegetable oil or cooking spray.
- Turn the dough out onto a floured surface. Pat the dough to a 9" rectangle. Tightly roll the dough from the long side to form a 9" log. Pinch the ends of the dough to seal.
- Set the dough into the pan and cover with plastic wrap. Set in a warm place and rise until the dough is almost doubled in size, about 1-1½ hours. If you press the dough and it springs right back it's not ready. If you press the dough and the dimple slowly fills in it's ready to bake. In the meantime, preheat the oven to 350 °F.
- Use a sharp knife or razor to cut a ½" deep slash down the center of the loaf. Brush the dough with egg wash and sprinkle with rolled oats.
- Bake about 35 minutes until golden brown and the interior temp is 200°F.
- Cool in the pan for 5 minutes before turning out onto a cooling rack. Cool to room temperature before slicing.
Would you like to save this recipe?
As an Amazon Associate and member of other affiliate programs, I earn from qualifying purchases.




Are you able to provide a recipe for this without yeast and with a sourdough starter instead?
I wouldn’t do it off the cuff since I couldn’t be sure of the results. It would require some recipe testing.
Can I use all-purpose flour instead of Bread flour?
Yes, but the dough will be wetter since lower protein ap flour won’t absorb as much moisture. You may need to add a little extra flour.
I don’t understand why in step 6 it says to preheat the oven, but in step 8 you are supposed to wait 1-1.5 hours before baking ?
Because I made a mistake. It’s been fixed.
This has the right amount of dry ingredients to work in my bread machine. I am going to try it. I love breads and would love to see some of your recipes that could work in a machine.
I have never worked with a bread machine so, unfortunately, I can’t tell you which recipes would work in your machine.
Can is use whole wheat flour in this recipe?
Yes, this recipe for Whole Wheat bread is probably what you are looking.