Buttermilk Dinner Rolls
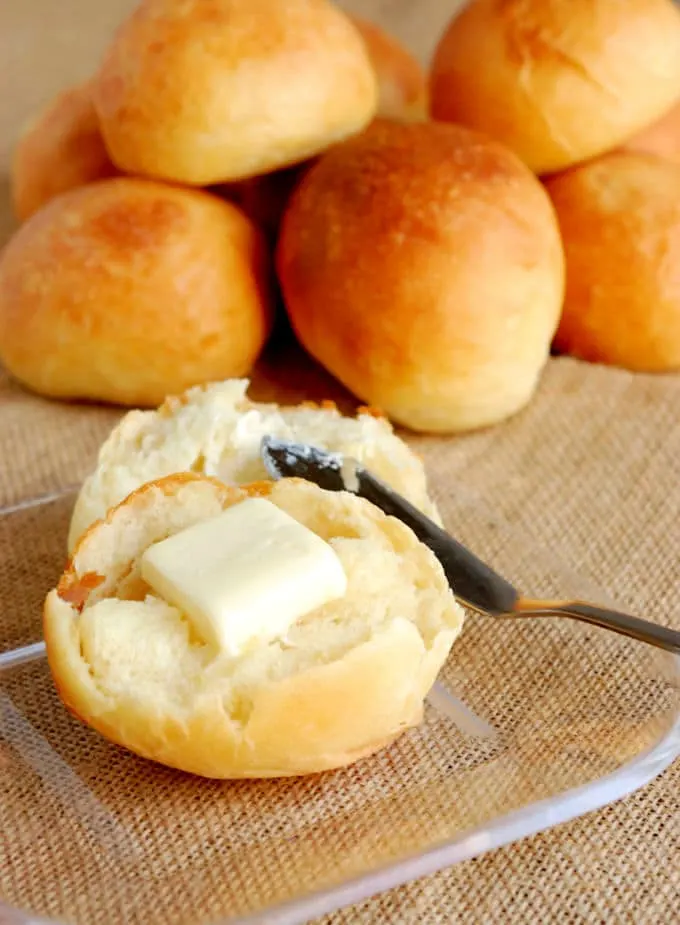
Buttermilk Dinner Rolls are soft, buttery, light and luscious. If you want to make the perfect dinner roll, look no further.
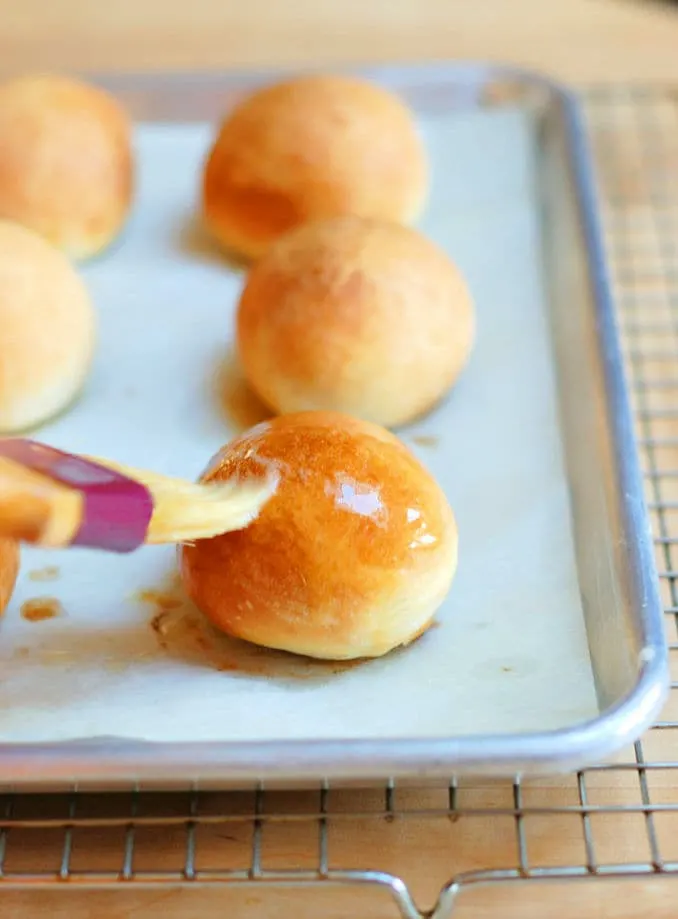
Table of contents
Why you’ll love this recipe
Any bread dough that starts with milk instead of water will be soft and tender because the butterfat in milk interferes with the development of gluten in the dough.
Acidic buttermilk softens the gluten in the bread even more for an extra tender crumb and great flavor. One egg contributes flavor and color. A pinch of sugar adds a whisper of sweetness and a little butter ups the richness and flavor even more.
Melted butter brushed onto the rolls before baking keeps the tops soft and a little more brushed on as soon as they come out of the oven is the perfect finishing touch.
By the way, if you keep a sourdough starter, you might want to make these Sourdough Dinner Rolls.
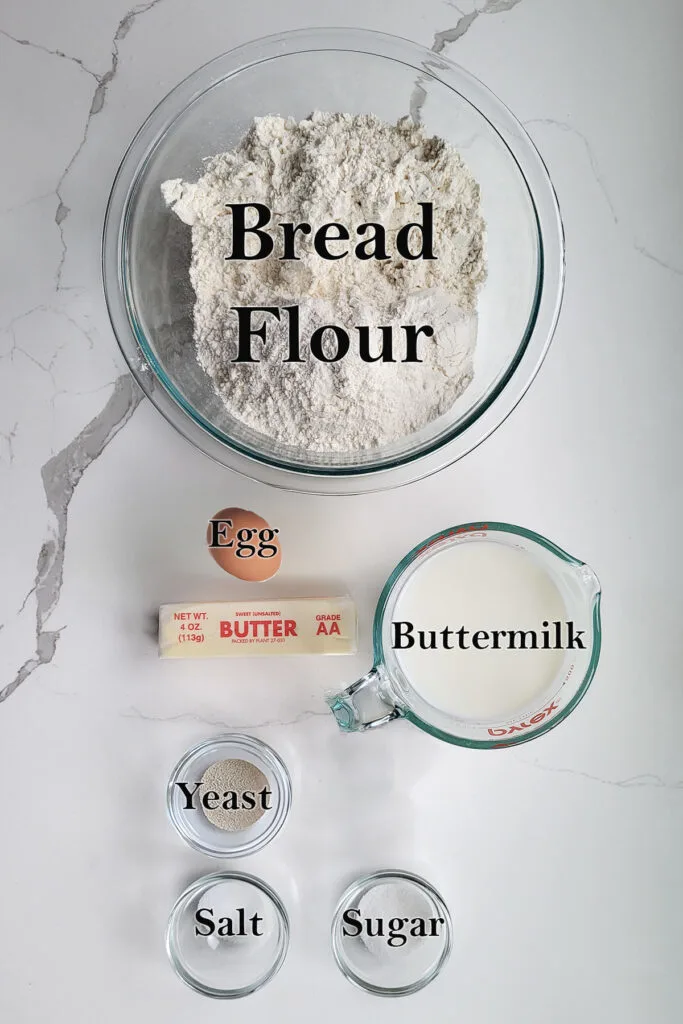
Ingredients
How to make Buttermilk Dinner Rolls
See the recipe card for detailed measurements and instructions.
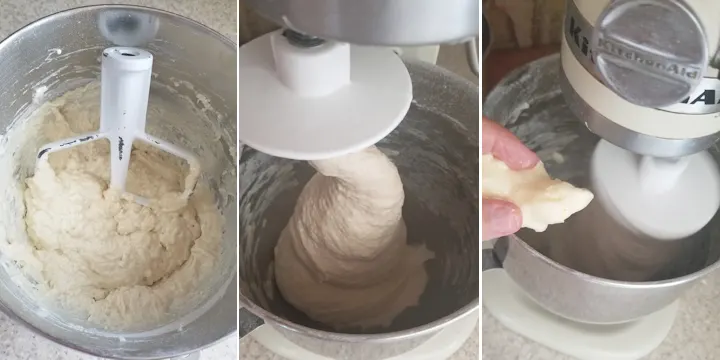
- Combine the yeast with the buttermilk, sugar, salt, egg and half of the flour.
- Switch to the dough hook and add the remaining flour.
- With the mixer running, toss in the softened butter and knead until it’s incorporated.
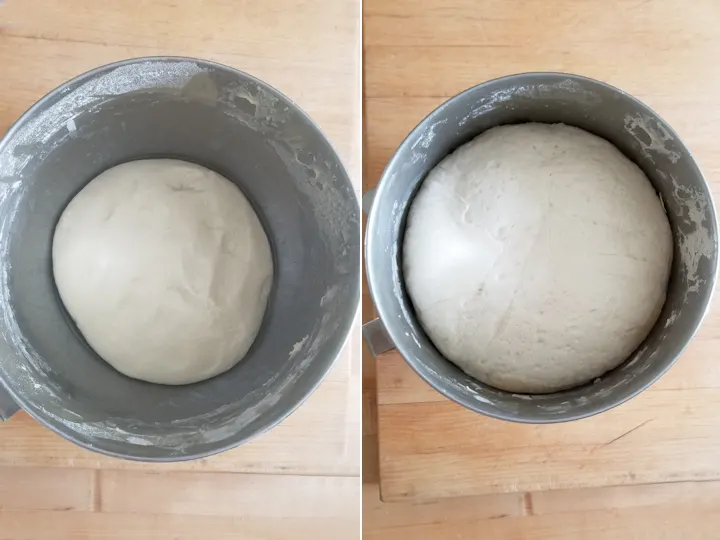
- Set the dough aside to rise for 1-2 hours.
- To work ahead, before rising you can cover the dough and refrigerate it for up to 2 days.
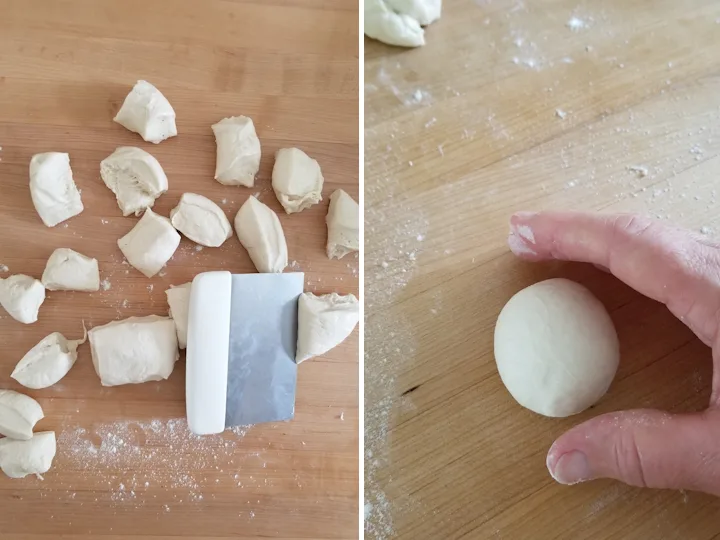
- Divide the dough into 24 equal pieces.
- Shape each piece into a smooth ball by rolling the dough under your cupped hand.
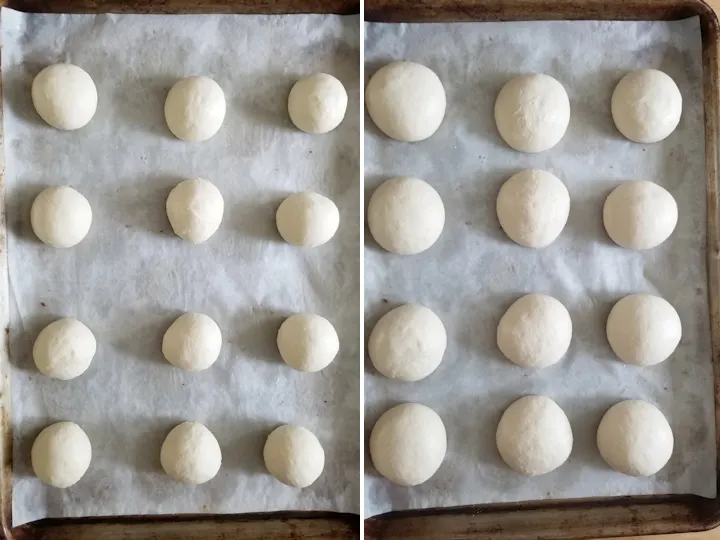
- Set the rolls aside to rise until doubled in size.
- If you poke a roll and the dough springs right back it’s not ready. If the dimple slowly fills in the dough is ready to bake. If the roll deflates after poking the dough has over-risen.
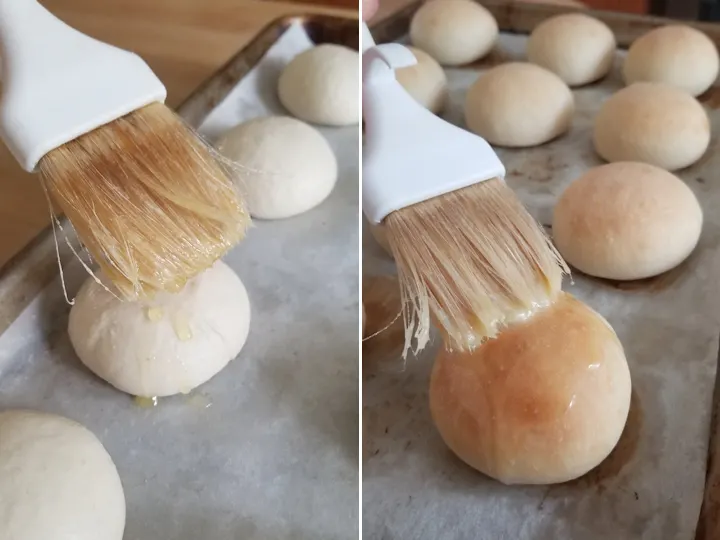
- Brush the rolls with melted butter before and after baking.
Work Ahead and Storage
- To work ahead the dough balls can be frozen on a sheet pan then packed into freezer bags. Allow the dough balls to defrost and then rise before baking.
- Dinner rolls are best the day they are baked but will keep at room temperature for 1-2 days. Leftover rolls can be frozen. Defrost and then rewarm in a 200F oven for the best results.
If you love this recipe as much as I do, I’d really appreciate a star rating and a quick comment. Ratings and comments help my recipes show in search results. Thanks!
Buttermilk Dinner Rolls
Ingredients
- 16 oz buttermilk (2 cups, room temperature)
- 2 ¼ teaspoons dry yeast
- ½ oz granulated sugar (1 tablespoon)
- 1 ½ teaspoons table salt
- 1 large egg (room temperature)
- 22 ½ oz bread flour (4 ½ cups, see note)
- 2 oz butter (softened)
- 2 oz butter (melted for brushing)
Instructions
- Combine 16 oz buttermilk, 2 ¼ teaspoons dry yeast, ½ oz granulated sugar, 1 ½ teaspoons table salt and 1 large egg in a mixing bowl. Mix on low speed to combine the ingredients. Add ½ of bread flour and mix to combine. Switch to the dough hook if mixing on a stand mixer.
- Add the remaining bread flour until the dough gathers on the hook and begins to pull away from the sides of the bowl. Knead on medium for 3 minutes then reduce the speed to low. If mixing by hand stir in as much flour as you can with a wooden spoon, then knead the remaining flour in by hand.
- With the mixer running on low, toss in 2 oz butter (softened) a tablespoon at a time. If working by hand, knead in the butter.
- Mix on medium for 3 minutes, if the dough is still very sticky add a little flour. The dough will stick to the bottom of the bowl but should gather on the hook. Dump the dough onto a floured surface and knead to form a smooth ball. The dough should be soft and smooth.
- Place the dough in an oiled bowl, turning once to coat the surface, cover with plastic wrap. At this point the dough can be refrigerated for up to 2 days or you can proceed with rising. Set the bowl in a warm place until the dough us doubled in size, about 1½ – 2 hours.
- Turn the dough out onto a lightly floured surface and roll the dough to form a long log shape. Using a sharp knife or bench scraper cut the dough into 24 even pieces.
- Roll each piece of dough under your cupped hand to form a smooth ball. Place the rolls onto a parchment lined baking sheet and brush the tops with melted butter (see note). Set aside in a warm spot to rise until nearly doubled in size and the dough springs back slowly when poked (about 1 hour).
- Preheat the oven to 375 °F. Bake the rolls until they are golden brown and feel light when picked up. About 10-15 minutes.
- As soon as the roll come out of the oven brush the tops with the melted butter. Enjoy warm or at room temperature.
Would you like to save this recipe?
As an Amazon Associate and member of other affiliate programs, I earn from qualifying purchases.


Can these be rolled and cut like biscuits?
I suppose so. There would be more waste and re-rolling the scraps can be difficult as the gluten toughens.
Could this be made with a cup of sour dough starter instead of the commercial yeast?
Yes, you just have to compensate for the added flour and water from the starter.
Worked out well! I used 1 cup of starter and reduced buttermilk to 1 1/2 cups then treated it like your other sourdough recipes with the sponge, folding, and overnight in the refrigerator. So delicious!
Great. I’ll put a sourdough version of this recipe on my to-do list.
According to your recipe you say that 4-4.5 cups of bread flour is equivalent to 405 grams.
According to another reputable baking website 1 American cup of bread flour is equivalent to 120grams making 4.5 cups 540grams.
Please clarify.
Hi Fiona, your’re right that my numbers were wrong. It’s an older recipe and I must have updated the measurements without fixing the gram measure. The way I measure my flour is the “dip & sweep” method. When I “dip and sweep” a cup of bread flour it weighs 5 oz. I use a conversion of 28g per oz so this recipe has 560g of bread flour. But you may also need to sprinkle in a little more flour if the dough is very sticky.
That makes sense of the extremely wet dough I was left with. A note to explain this measurement approach in recipes would be helpful.
@Eileen Gray, Agreed I had to add about another 2/3 cup of flour for the proper dough consistency.. TY
Hello Eileen,
Thanks for sharing this… I tried it and it was great!!!! I sprinkled some sesame seeds on before baking and it came out well…
Thanks for sharing all these amazing stuff with us…
Sending you a big hug!!!!
Great idea. I’m a big fan of sesame seeds.
not sure how 675g turns into 4 1/2 cups of flour…
but, the rolls turned out great when i used 4 1./2 cups of flour spooned and leveled
and to reference another comment, they are great for sliders, or mini grilled cheeses
Wow, not sure how I made such a typo. The number has been fixed. Thanks for the heads up.
Hello Eileen,
thank you for sharing this recipe, they look so yummy. I can’t wait to bake them.
Christine
I hope you like them.
If I wanted to make the dough & then bake the next day at which point do I refrigerate? I am thinking after the dough rises & before forming into rolls. Thanks, looks like a keeper!
Hi Kathy,
I would refrigerate the dough before forming the rolls. Take the dough out the next morning and then let it come to room temperature before forming the buns. Alternately, you could make and bake then rolls, freeze them, then rewarm then in the oven the day you are going to serve them.
If I wanted to make and freeze these rolls ahead of time, would you freeze them after rolling them into the individual rolls? Also, what would be your suggestions for defrosting them before cooking?
Thanks,
Stephanie
Yes, you could freeze them as soon as you roll them. Freeze them on a sheet pan so they don’t stick together then put them in a freezer bag once they’re frozen. Take them out of the freezer several hours before you plan to bake them. Line them up on a tray covered with plastic wrap. Let them finish defrosting and rising at room temperature. The exact timing will depend on the temperature of your kitchen, but I would allow at least 3 hours for them to defrost and rise. You could also bake them, allow them to cool, bag them in freezer bags. Defrost, then warm in the oven before serving.
Can I use regular unbleached white flour instead of bread flour?
This is a fairly soft dough because of the buttermilk, butter and eggs. You could try using unbleached all purpose flour instead of bread flour. You may have to add extra flour since all purpose flour doesn’t absorb as much liquid as bread flour. Also, knead the dough a little longer to develop the gluten. After the first rise if it doesn’t feel nice and elastic you can knead it again and give it a second rise before shaping. Let me know how it works out.
I LOVE all of your shots! The details is so fun 🙂
Rolls like these are perfect for sliders. I’m not a big baker but I will have to try my hand at these.
They’re really great for leftover turkey sliders.
Thanks for the great explanation about the effects of the different ingredients. I did know that milk made for a softer dough but didn’t know the chemistry behind it. I know what you mean about wanting a soft burger bun sometimes, so I am pinning this one! Thanks
Thanks, Tania!
your dinner rolls looks perfect! it’s keeper recipe absolutely. thx for sharing
Thanks, Citra!
These will make a great addition to holiday dinners. They look so soft and warm! Yum!
Thanks, Kimberly.