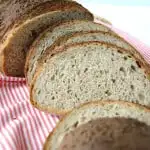
Homemade Rye Bread
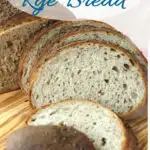
Homemade Rye Bread has great flavor thanks to honey, caraway seeds and a long slow rise. Start this rye bread recipe night before to have fresh bread for lunch.
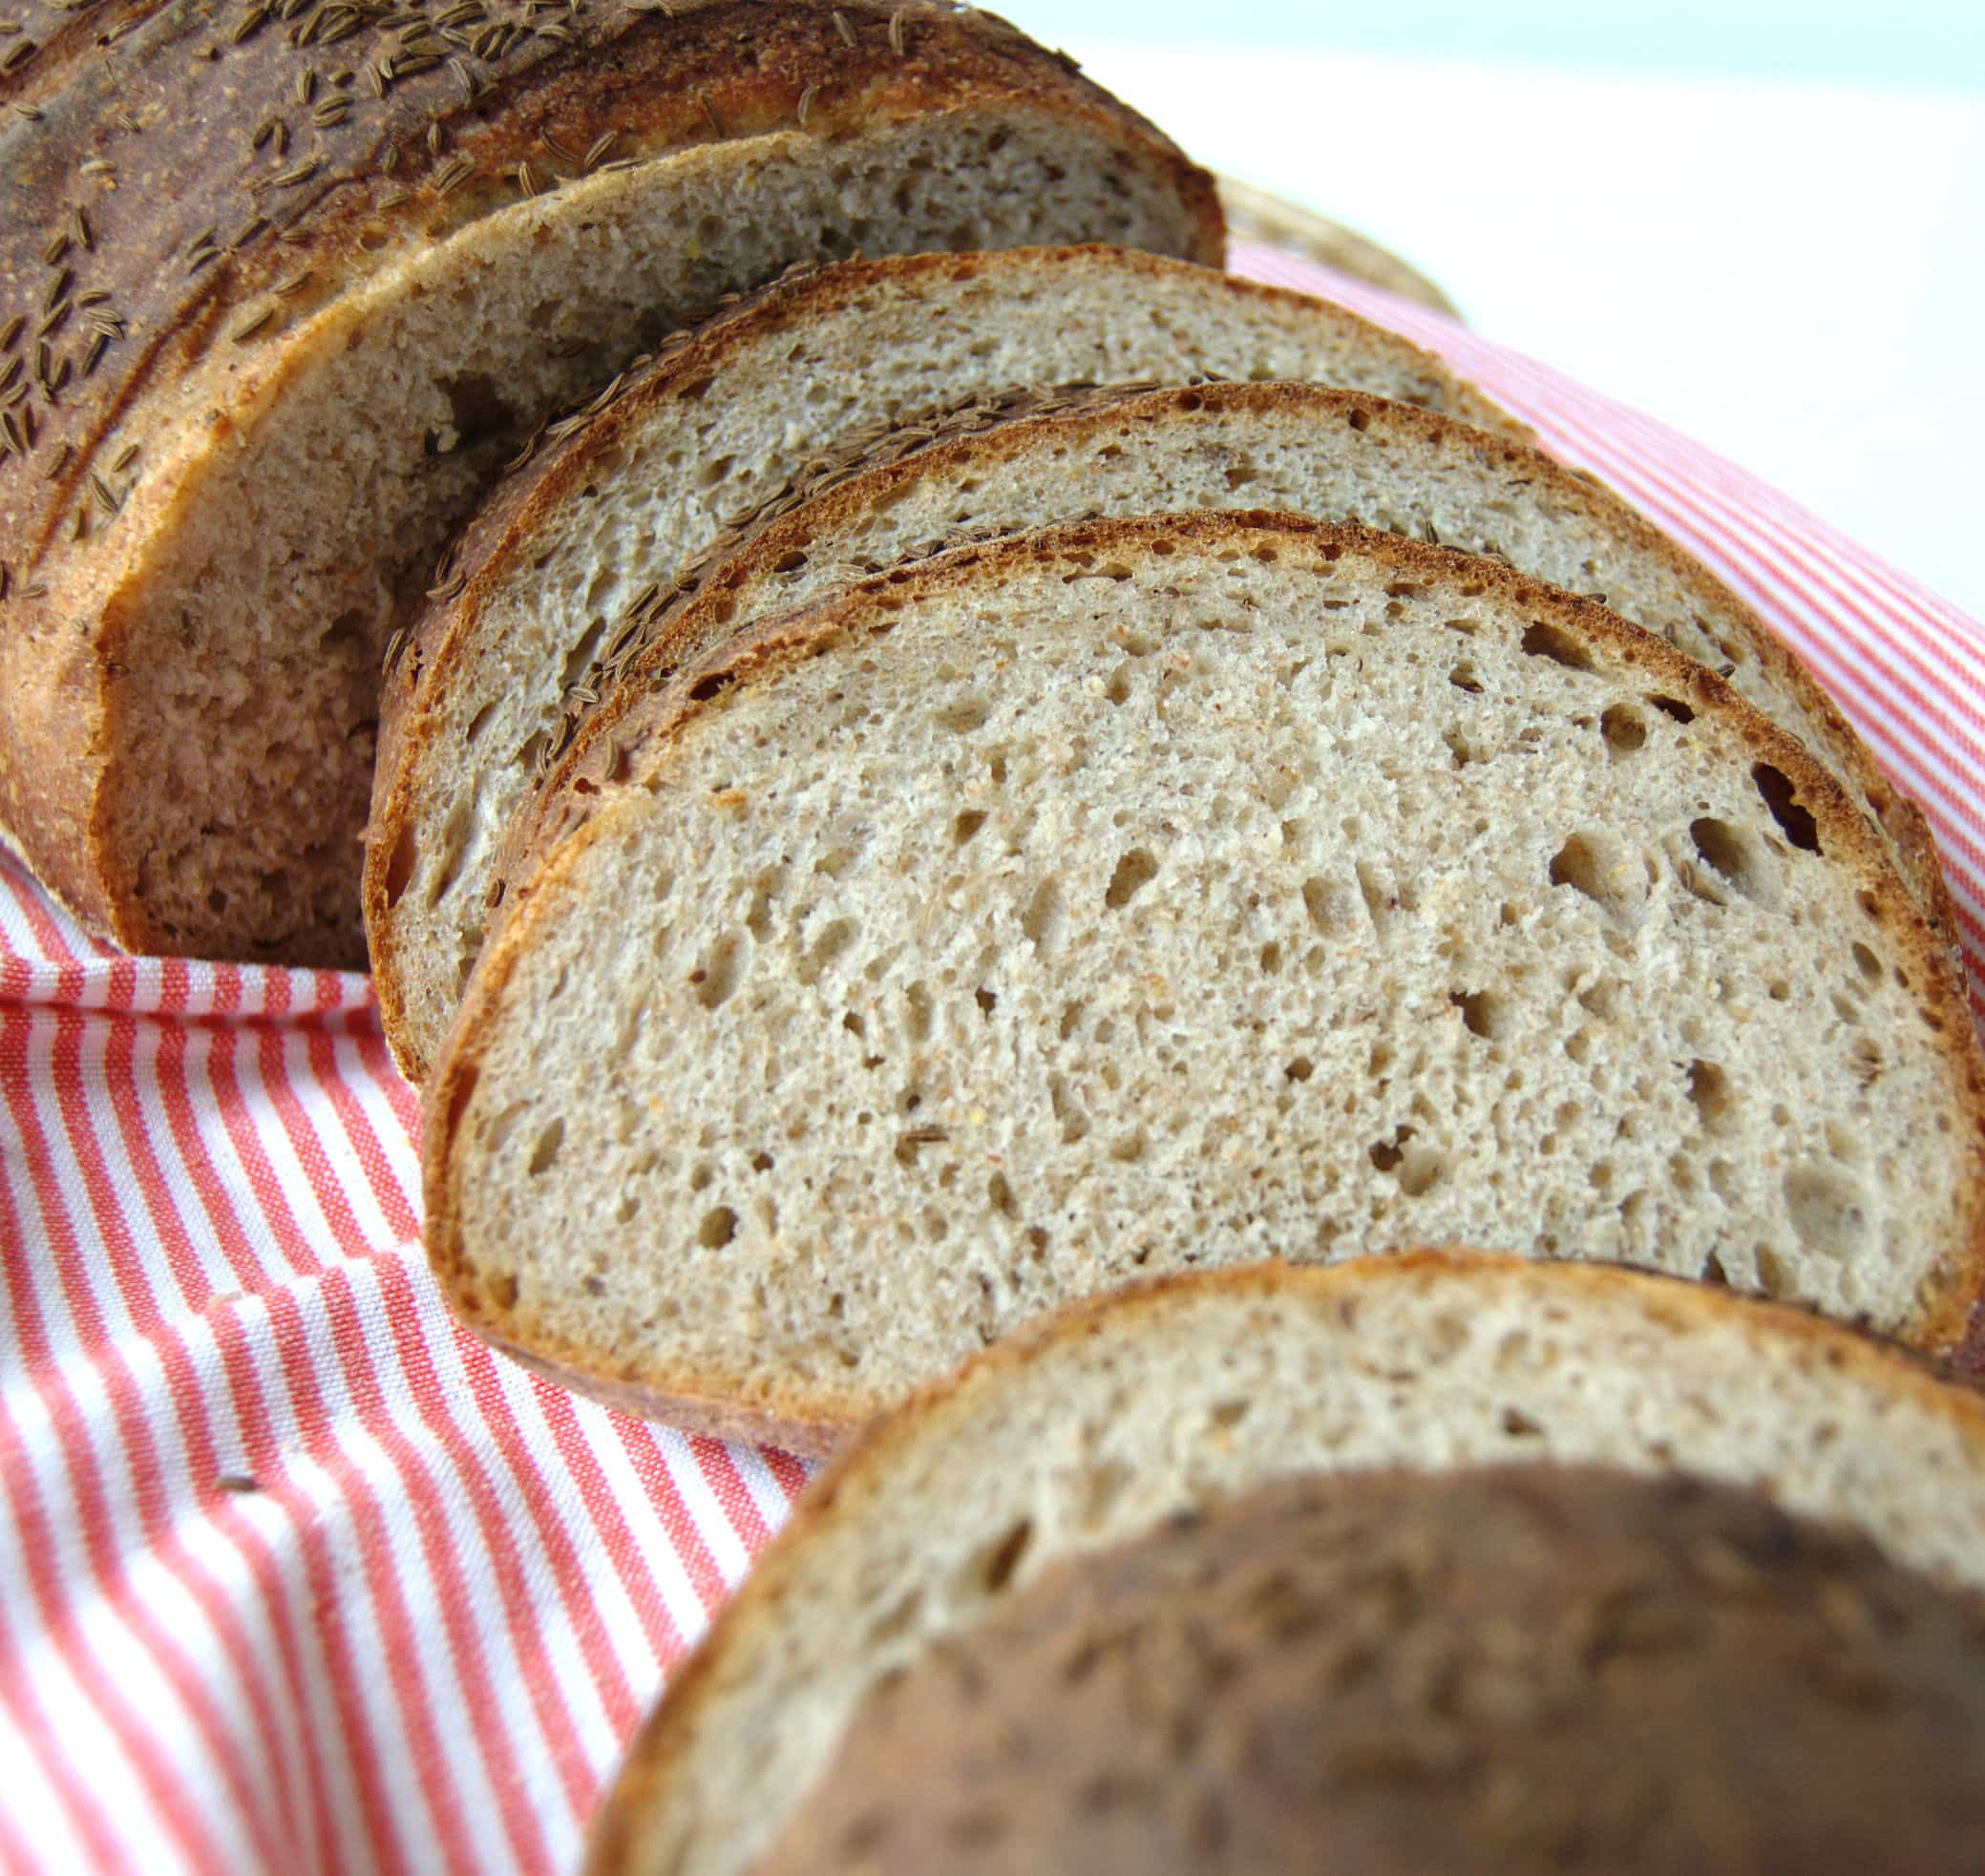
Table of contents
Why I Love This Recipe
I’m a huge fan of rye bread in just about any form. If you’ve got a bread starter I highly recommend my Sourdough Rye Bread, Sourdough Rye Crisp Bread or Sourdough Pumpernickel Bread. I also recommend this recipe for Marble Rye Bread.
I’m kind of picky about Rye Bread, so it’s always homemade in our house.
But this rye bread recipe is so easy there’s no reason not to bake it yourself.
If you want fresh bread for lunchtime, start the night before and your bread is half way done when you get out of bed.
And that overnight rest is not only good for you, it’s also really good for the taste and texture of your Rye Bread.
If you love baking bread and want to understand the process a little better, take a look at comprehensive Bread Baking Guide. It covers the basics of mixing, kneading, proofing, and baking so you can get perfect results every time.
Ingredients
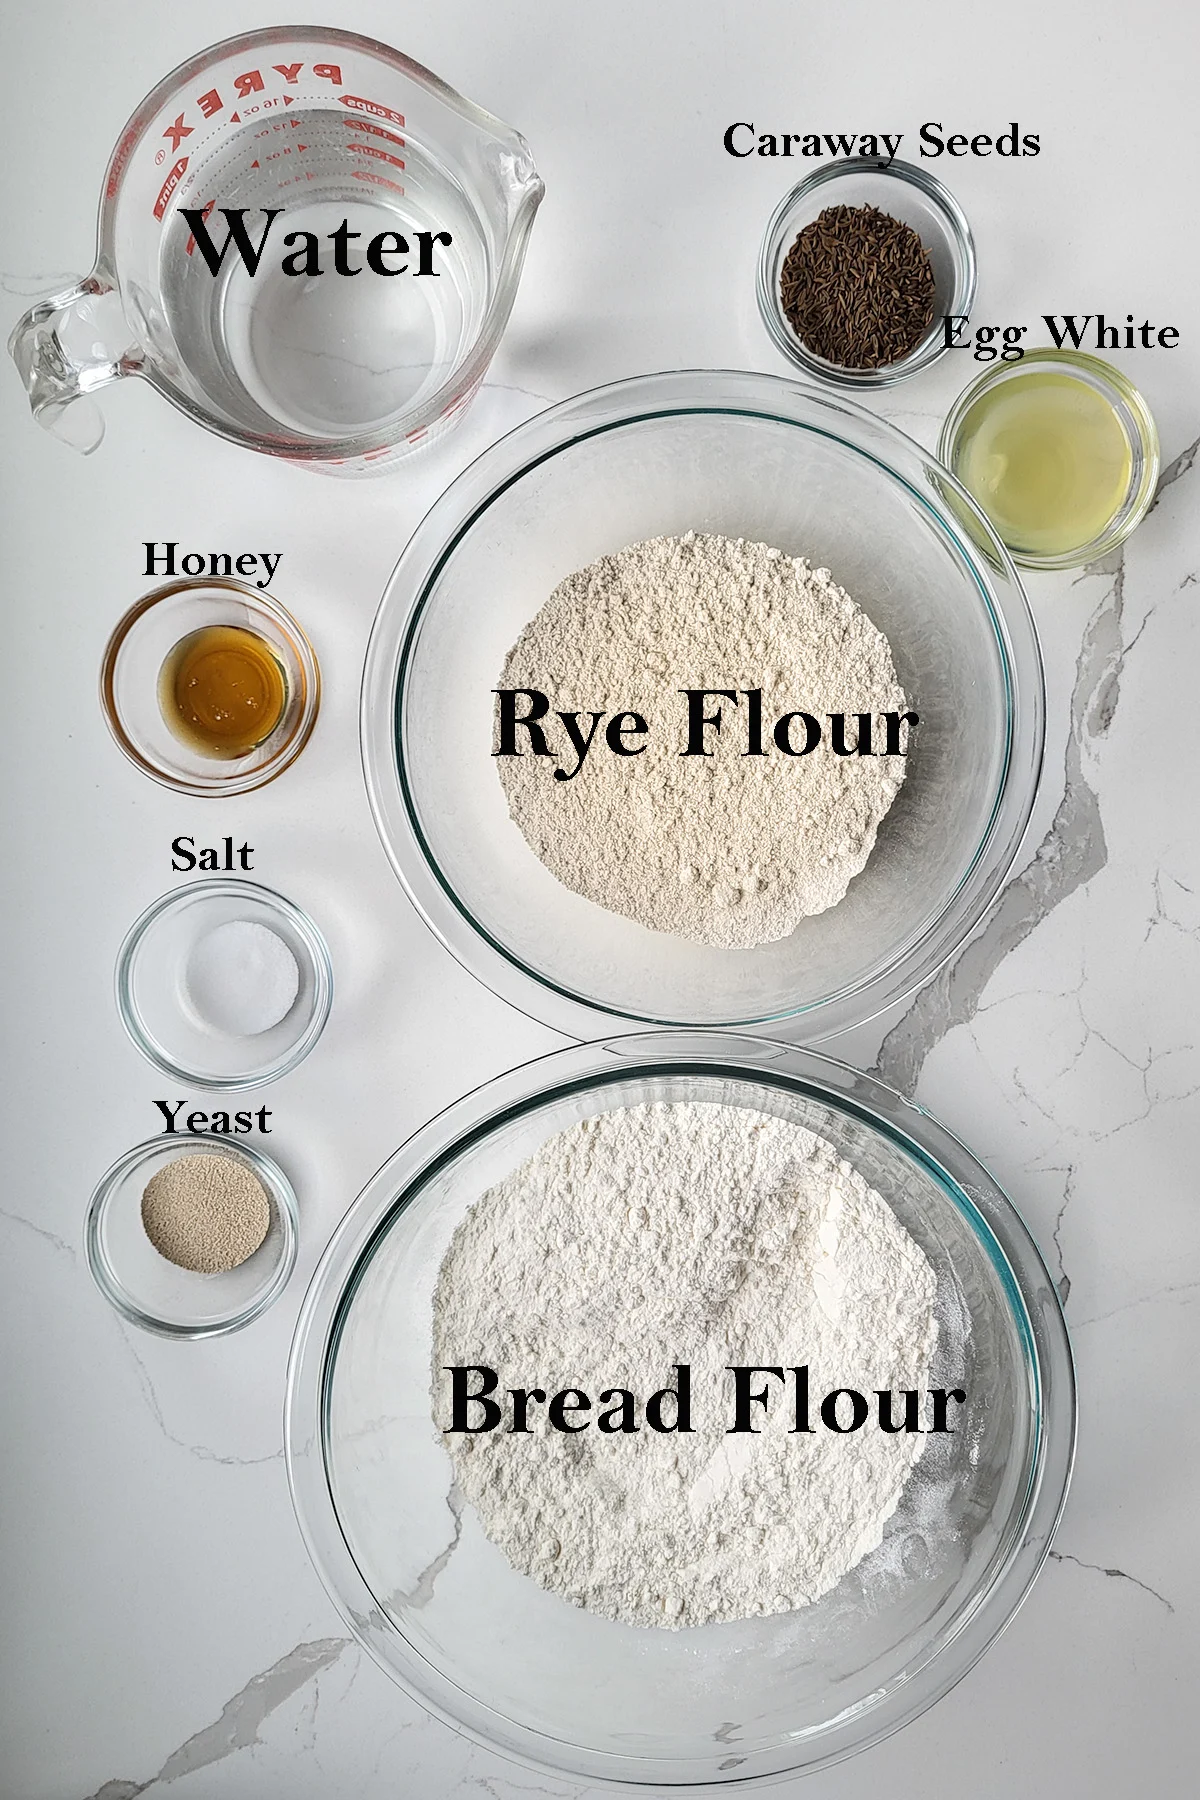
Ingredient Notes
- Rye Flour does not have the gluten forming properties of wheat flour. Use any type of rye flour in this recipe, light, medium or whole grain. Stone ground rye flour has an especially nice flavor and texture.
- Bread Flour is a wheat flour with a high protein content. Higher protein means better gluten development.
- Active Dry Yeast I prefer active dry yeast to rapid rise yeast for a slightly slower rise.
- Honey adds the slightest sweet note which works very well with the flavor of rye flour.
- Caraway Seeds add the characteristic “rye bread” flavor, but they are optional.
Process Photos
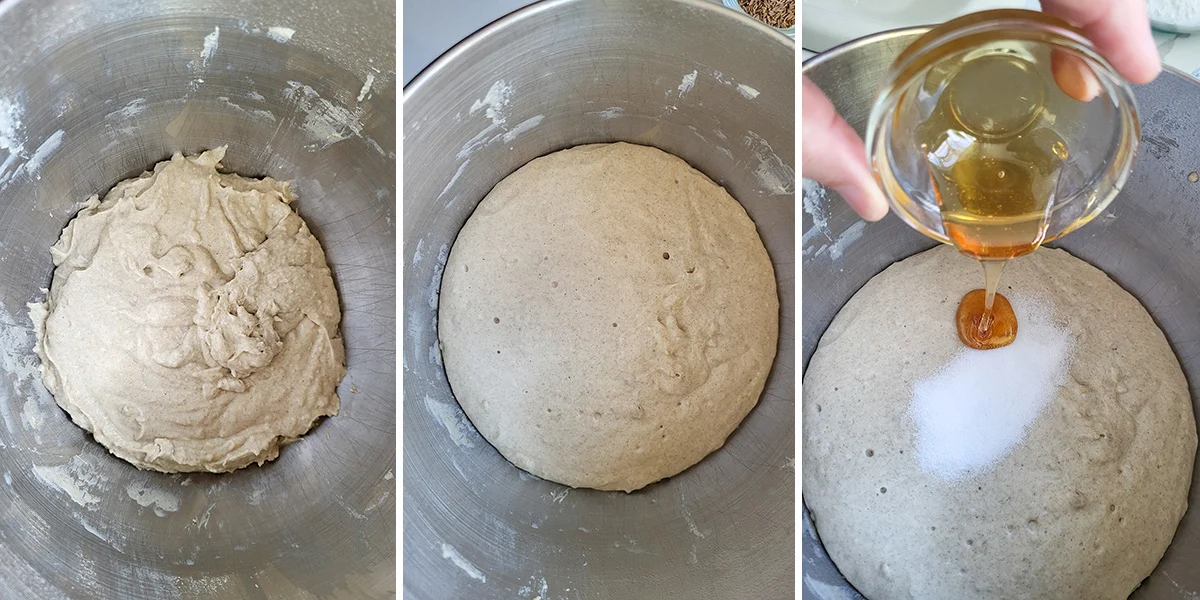
- Combine the water, yeast, rye flour and 1 cup of the bread flour in a mixer bowl. Set aside for 30-60 minutes.
- During the resting time the sponge will activate the yeast, the flour will absorb water, and the gluten will start to form.
- Add the salt and honey to the sponge. Add the rest of the bread flour.
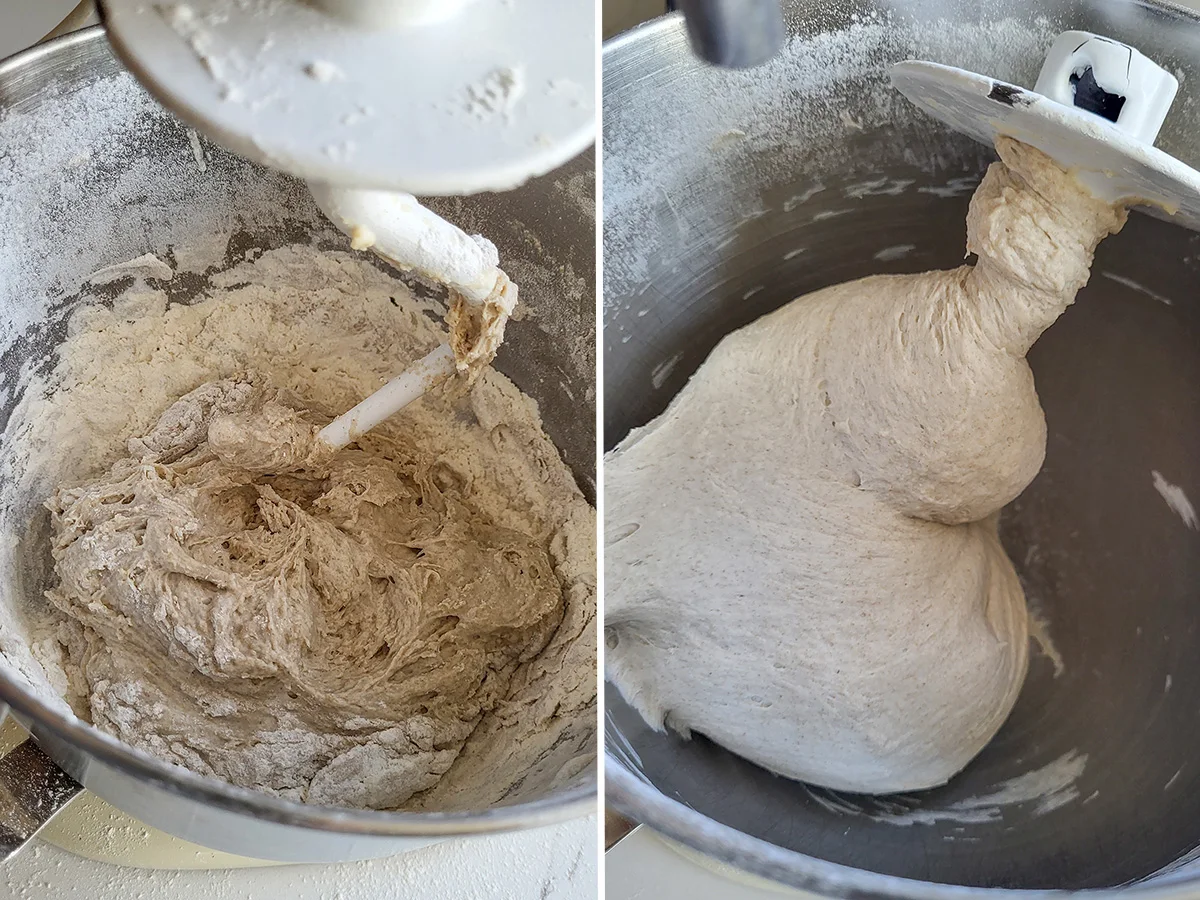
- After adding the rest of the bread flour the dough will be quite sticky and shaggy.
- After 5 minutes of kneading the dough should gather on the hook and clear the sides of the bowl.

- Let the dough rise 1x, then punch it down. Put the dough back into the bowl. Cover the bowl and refrigerate overnight.
- By the morning the dough should have risen again.
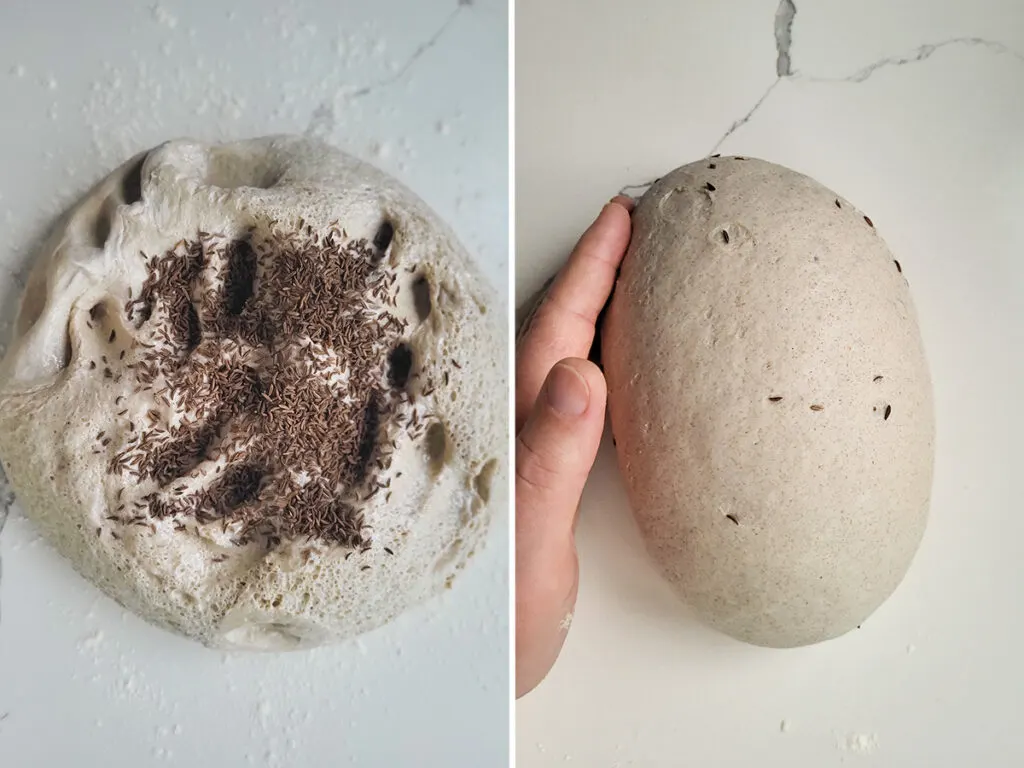
- Sprinkle caraway seeds on top of the dough. Knead the seeds into the dough and shape the loaf.
- Cover the loaf and set aside to rise until doubled in volume.

- Once the loaf has doubled in size, make 5 slashes across the top of the loaf, brush it with egg white, and sprinkle with the rest of the caraway seeds.

- Bake until the loaf is golden brown and the internal temperature of the loaf is 200F.
A timeline for making Overnight Rye Bread:
- Mix the dough the evening before baking day. Refrigerate the dough before going to bed.
- Take the dough out first thing in the morning and shape the loaf.
- Leave the loaf at room temperature to rise for 1 – 1 1/2 hours.
- The dough can be baked the same day it is made. The entire process, including cooling time, takes about 5-6 hours. To have bread ready for lunch, start before 7am.
- If you use rapid rise yeast your rising times will be quite a bit faster, possibly half the time. But remember, the longer rise creates a better tasting loaf.
How to Know when the Rye Bread is Done
The best way to know if your rye bread is done it to use a probe thermometer to check the internal temp. When the center of the bread registers 200F the bread is ready.
If you don’t have a probe thermometer you can try and judge if the bread is done by the color and weight of the loaf. A perfectly baked loaf of rye bread should be golden brown and will sound hollow if you tap the bottom of the loaf.
How to Store Rye Bread
Rye bread keeps extremely well at room temperature for 2-3 days. For longer storage slice the loaf, store the slices in a freezer bag and freeze for up to a month. Defrost or toast the bread as needed.
How to Enjoy Rye Bread
A slice of fresh rye bread slathered with good butter is a simple and perfect treat. But there are many ways to enjoy this bread.
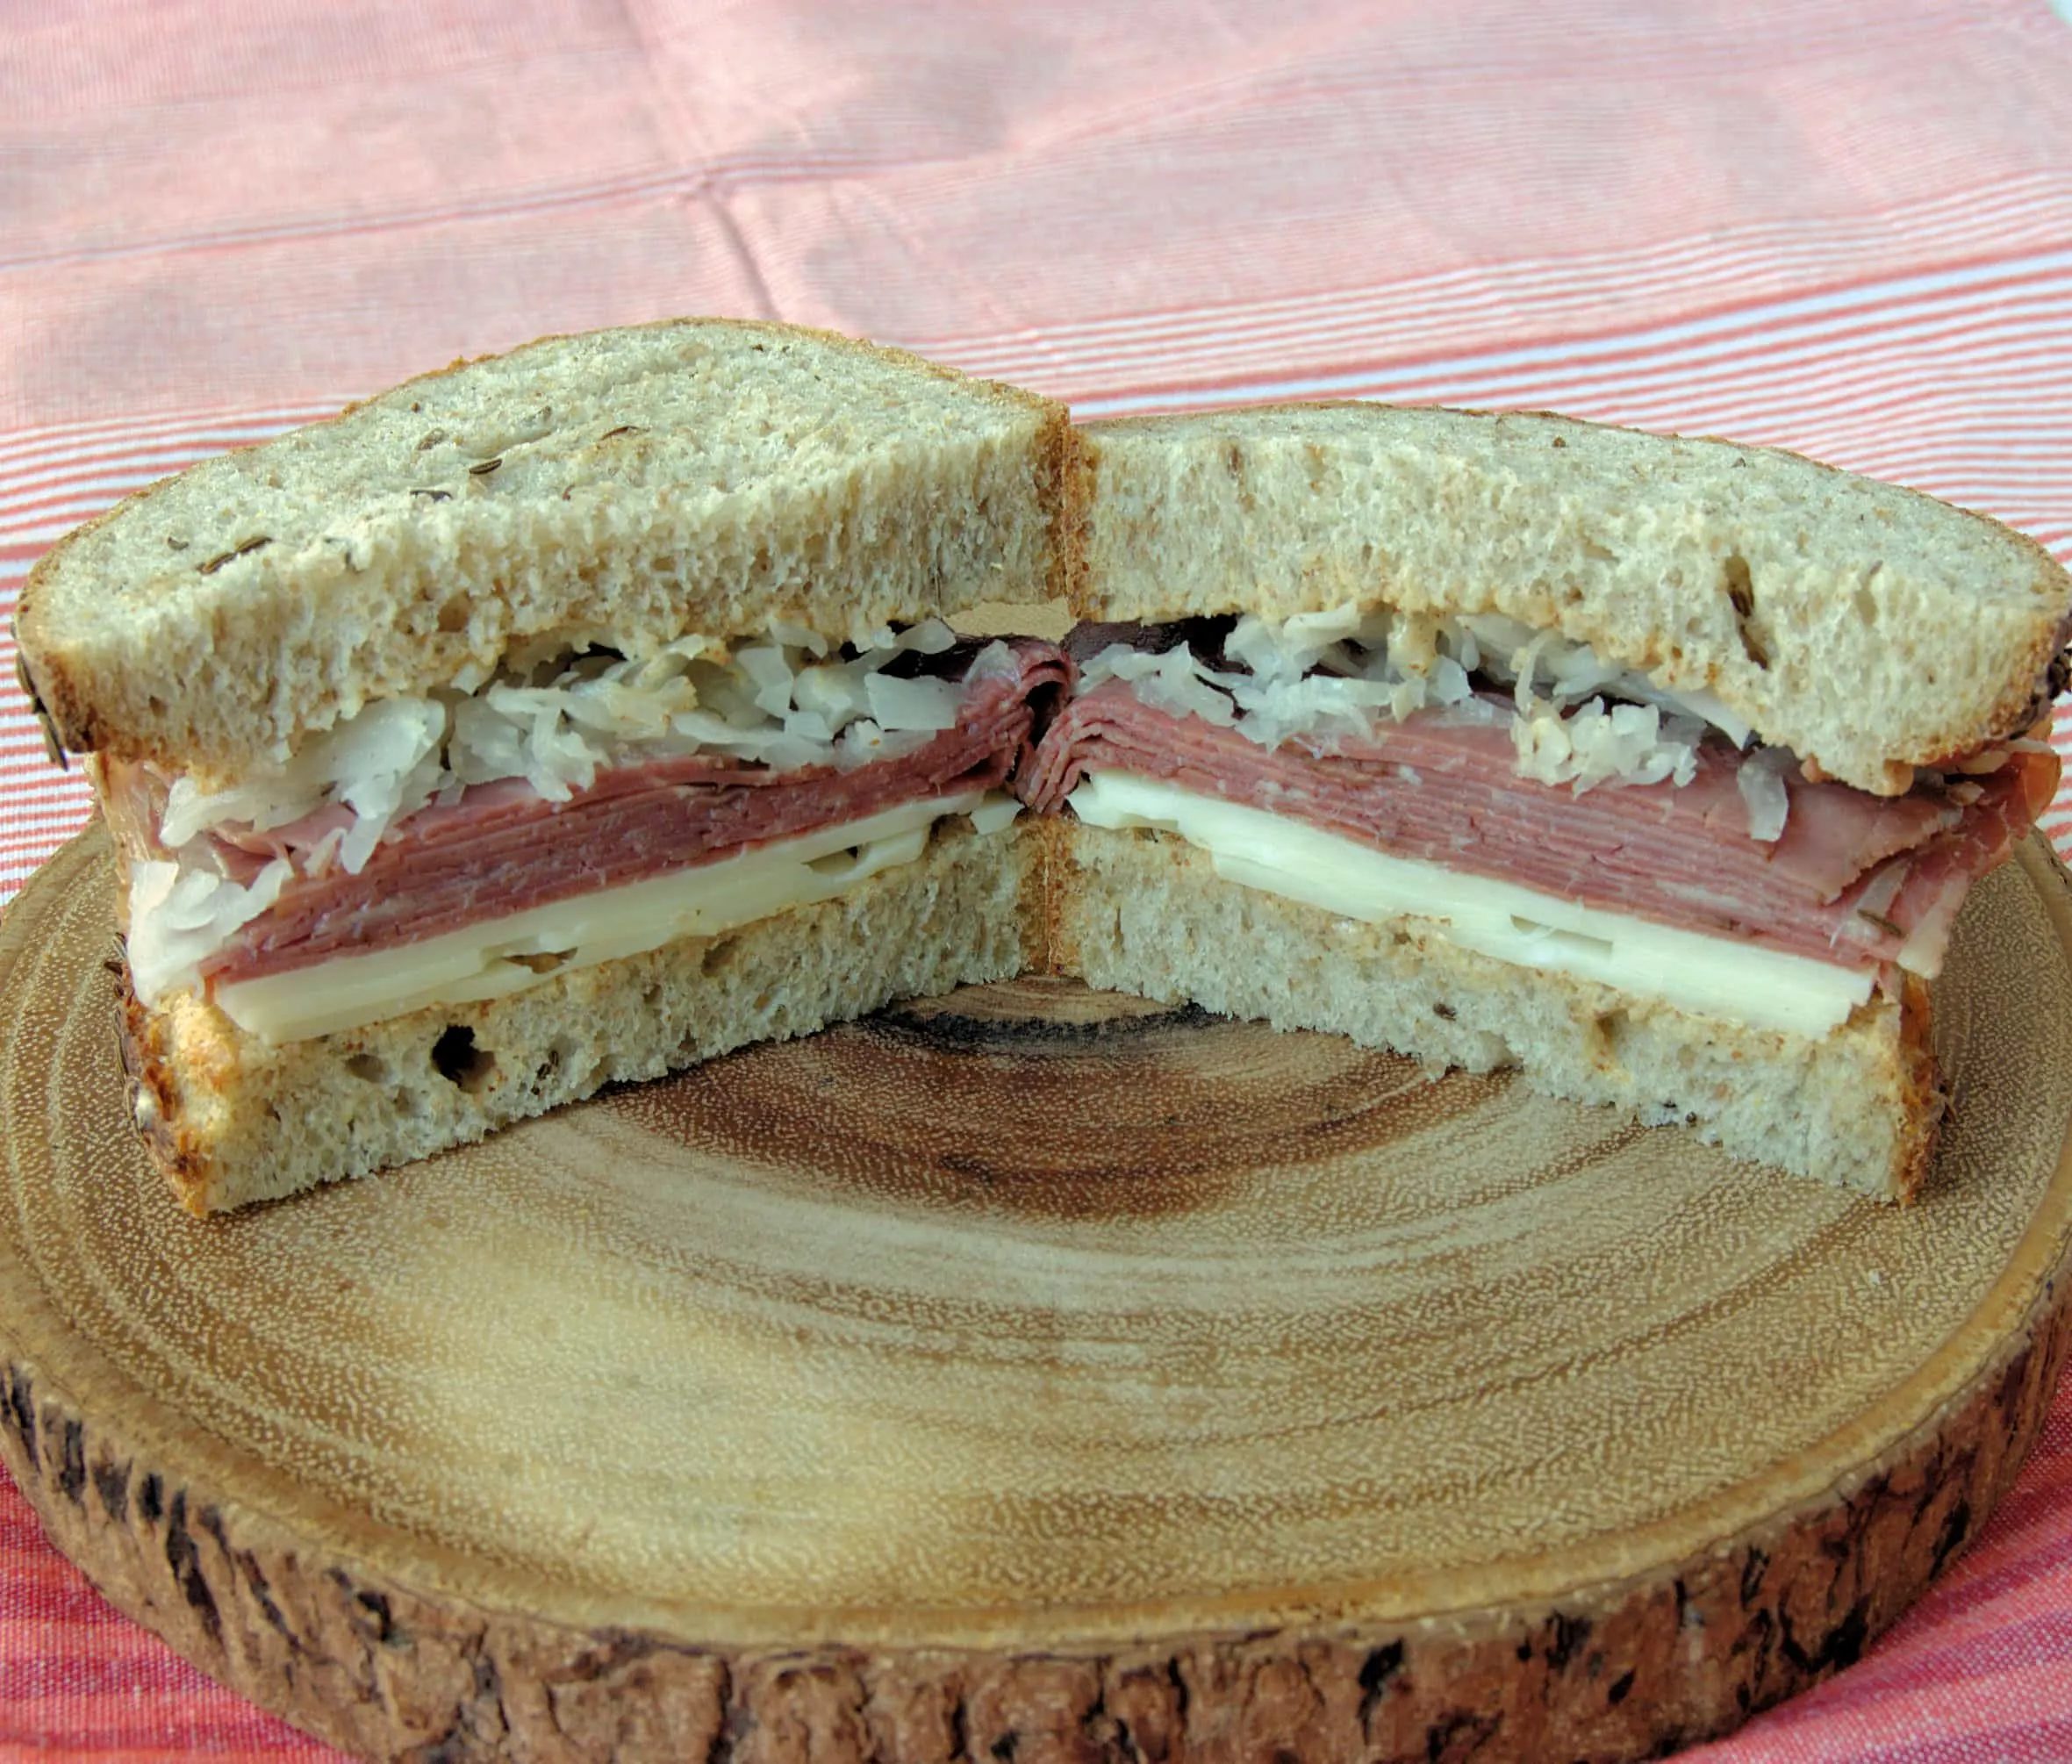
Rye Bread is essential for the classic Reuben Sandwich. Take two slices of rye bread and layer them with corned beef, Swiss cheese, sauerkraut, and Thousand Island or Russian dressing. Grill the sandwich and enjoy.
Rye bread is also traditional in a tuna melt. Stuff two slices of rye bread with tuna salad and swiss cheese. Grill until the cheese is melty. Yum.
Pro Tips for making Rye Bread in a Dutch Oven
- Instead of forming the loaf into a football shape, form the dough into a round and place it on a sheet of parchment paper. Preheat a Dutch oven in oven while the bread rises.
- Remove the preheated pan from the oven and remove the lid. Use the parchment paper to lift the loaf into the Dutch oven. Replace the lid on the pot and slide it into the oven.
- Bake for 20 minutes. Remove the lid from the Dutch oven. The loaf should be well risen and pale in color. Continue baking another 20 minutes until the loaf is nicely browned and beginning to crisp.
- Remove the pan from the oven. Use the parchment to lift the loaf out of the pan. Use the parchment to place the loaf directly onto the rack in the oven. Bake another 5-10 minutes until the loaf is deeply browned and very crisp. Total baking time is about 40-50 minutes.
If you love this rye bread recipe as much as I do, I’d really appreciate a 5-star review.
Homemade Rye Bread Recipe
Ingredients
- 16 ounces warm water (2 cups)
- 2 ¼ teaspoons active dry yeast
- 5 ounces rye flour (1 cup, see note)
- 16 ¼ ounces bread flour (3 ¼ cups)
- 1 tablespoon honey
- 2 teaspoons table salt
- 2 tablespoons caraway seeds
- 1 egg white
Instructions
- Combine 16 ounces warm water, 2 ¼ teaspoons active dry yeast, 5 ounces rye flour and 1cup (5 oz) of the bread flour in a mixer bowl. Mix until a thick batter is formed. Cover the bowl and set aside for 30-60 minutes.
- If you're using a stand mixer, switch to the dough hook. Add 1 tablespoon honey, 2 teaspoons table salt and and remaining bread flour. If the dough is extremely sticky sprinkle in a few more tablespoons of bread flour.
- Knead the dough on medium speed for 5 minutes or until the bread clears the sides of the bowl and clings to the hook. Turn it out onto a lightly floured surface. If working by hand, stir in as much of the flour as you can then turn the dough out onto a floured surface and knead for 4-5 minutes.
- The dough may be a little sticky so keep your hands well floured. Place the dough into a lightly oiled bowl, turning once to coat the dough. Cover the bowl.
- Rise for 1 to 1 ½ hours or until doubled in size. Turn the dough out onto a lightly floured surface. Knead the dough, cover tightly and refrigerate over night or up to 24 hours. To bake the same day you can skip the refrigeration step and go straight to shaping the loaf.
- Remove the bowl from refrigerator and dump the cold dough onto floured surface. Sprinkle the dough with 1 tablespoon caraway seeds and and knead to distribute the seeds.
- Knead the dough into a smooth ball then taper the two ends for form a football shape. Place the loaf on a wooden peel or sheet pan sprinkled liberally with corn meal. (It you plan to bake in a Dutch oven see notes below)
- Cover and leave in a warm place until doubled in size and the dough springs back slowly when poked, about 1 hour. Meanwhile, preheat the oven to 400 °F. If you have a baking stone place it in the oven to preheat.
- Make 5 diagonal slashes in the dough with a single edge razor or very sharp knife. Brush the dough with egg white and sprinkle with another tablespoon of caraway seeds. Slide the dough onto the preheated stone or slide the sheet pan into the oven.
- The bread is ready when the internal temperature of the loaf is 200 °F. Baking time is approximately 35 minutes.
- Cool completely on a wire rack before slicing.
Would you like to save this recipe?


As an Amazon Associate and member of other affiliate programs, I earn from qualifying purchases.
Haven’t yet tried my bread, it’s in the oven now, what I can say so far, it’s an easy recipe to do by hand if needed, I’m doing the same day method, and I’ll return for the final comment, smells really good
This bread was really good! I put the dough in a Benetton for the second rise, then baked it in a hot cast iron Dutch oven. The bake took longer than I expected (20 extra minutes) to reach 200 degrees.
I’ll definitely bake this one again!
I made this recipe and it was easy and perfectly measured. It looked so tempting but when I cut into it, the bread was very dry. It tasted great but it did need more caraway seeds. I am attempting to make it again at Easter, can you advise me of how I can make it moister? Thank you.
I haven’t had a problem with this being dry. Perhaps it was overbaked? Did you temp the bread to see if it was done? I assume you weighed your ingredients?