Rose Shortbread Cookies
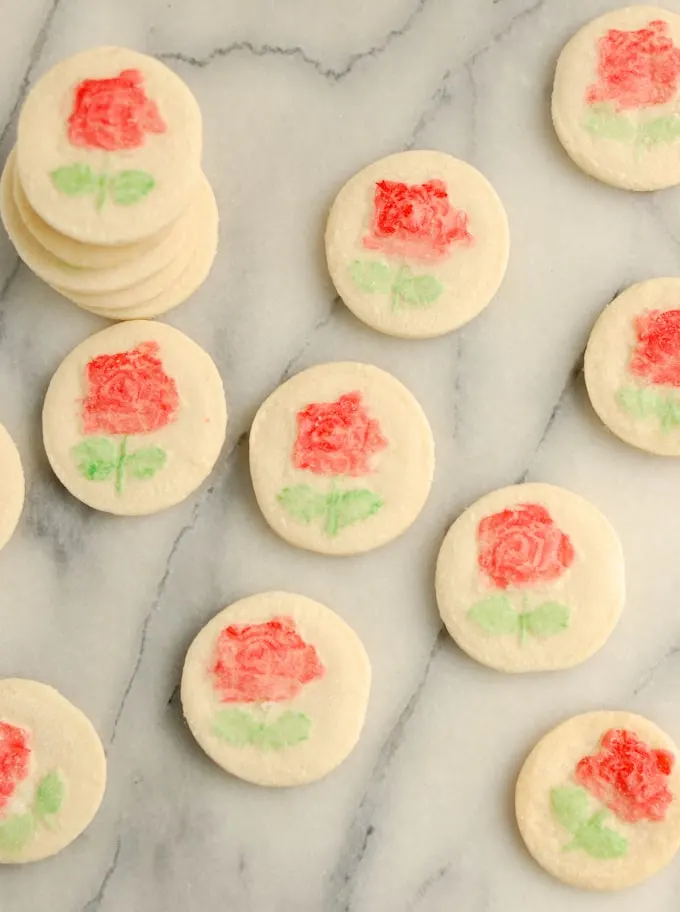
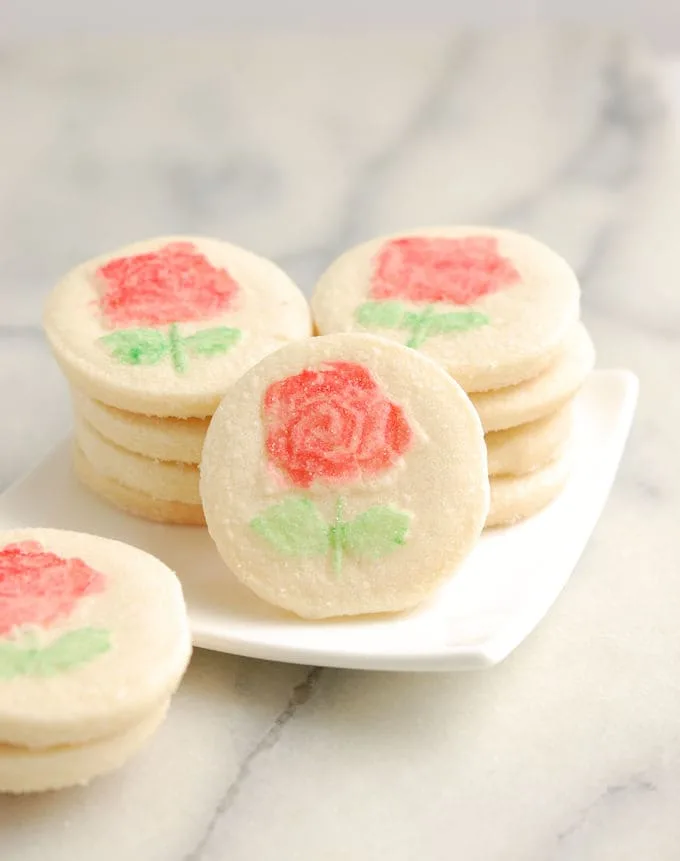
These Rose Shortbread Cookies are so pretty and are perfect for teatime, a bridal shower, a birthday party or Mother’s Day. The cookies are flavored with a hint or rosewater for a flavor that is as delicate as the design.
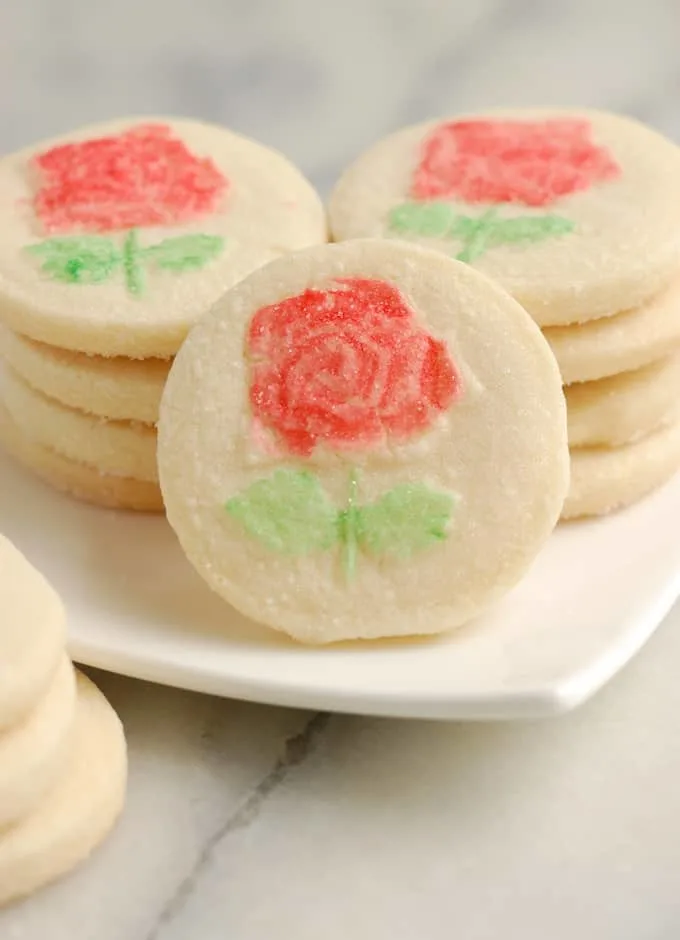
These Rose Shortbread Cookies are so pretty and are perfect for teatime or Mother’s Day. When I baked for a British tea shop I always had these on the menu.
I honestly can’t remember how I came up with the method for painting the roses with tinted egg whites. I started making these cookies way back before there was an internet. Yes kids, it’s true, there was a time when we had to find recipes in a book or magazine!
I made a few tweaks to the classic shortbread cookie recipe for these lovely little gems. Learn more in the baking science section below.
How to make Rose Shortbread Cookies:
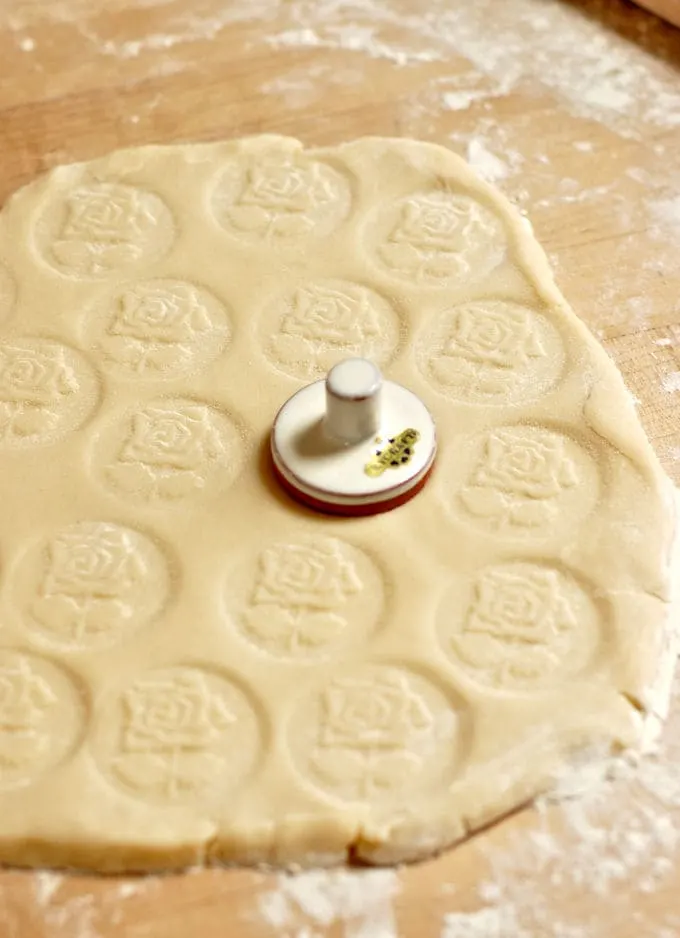
- The rose on top is made using a cookie stamp. There are lots of designs available. I use a stamp with a Christmas tree to make holiday shortbread cookies.
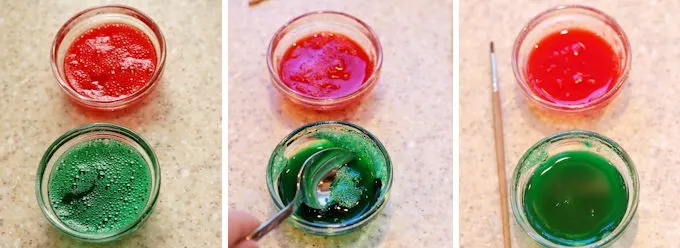
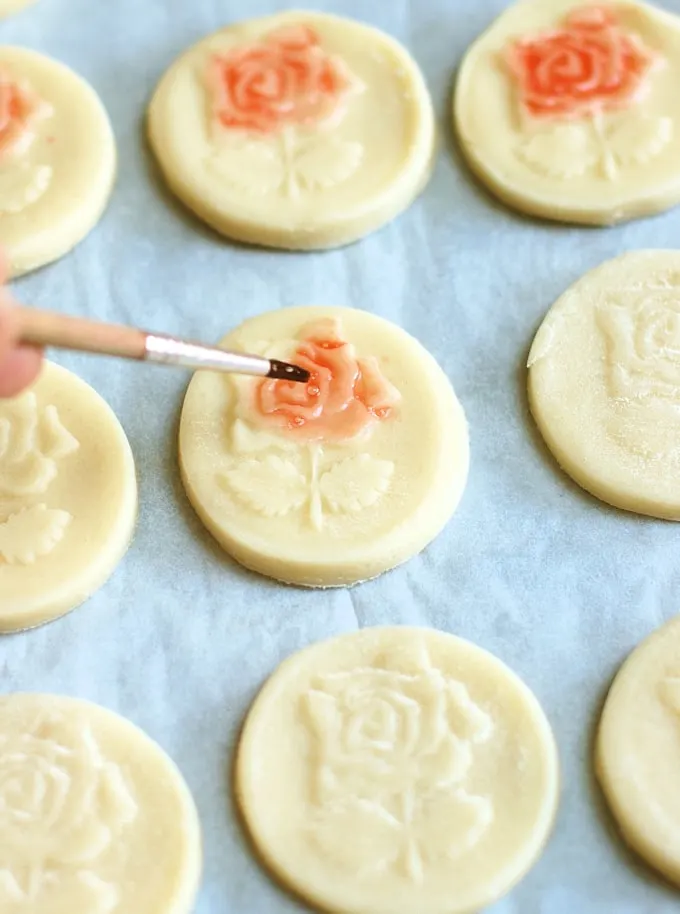
- The main key to making the “paint” is to let the egg white age at least a day before painting the cookies. As egg whites age they liquify, making it easier to paint on the cookies without globbing up (that’s a technical pastry term).
- Scoop the foam from the surface with a spoon and you’ll have a nice clear paint that’s easy to brush onto the cookies.
- I flavor these cookies with a hint of rosewater to complete the theme. The strength of rose water can vary pretty widely so I suggest putting in the lesser amount listed in the recipe, then taste the dough to see if you want more. I love the flavor of rosewater, but a little goes along way.
- Put the prepared cookies in the refrigerator to chill before baking. Putting cold cookies in the oven slows the spreading and puffing of the cookies as they bake. This helps keep the rose design intact.
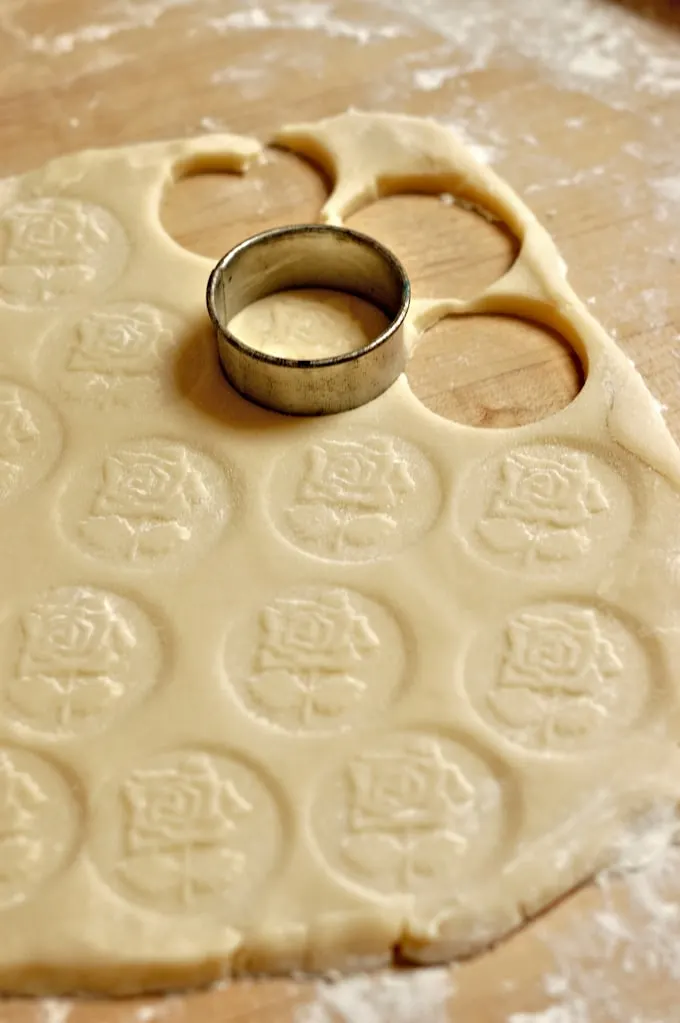
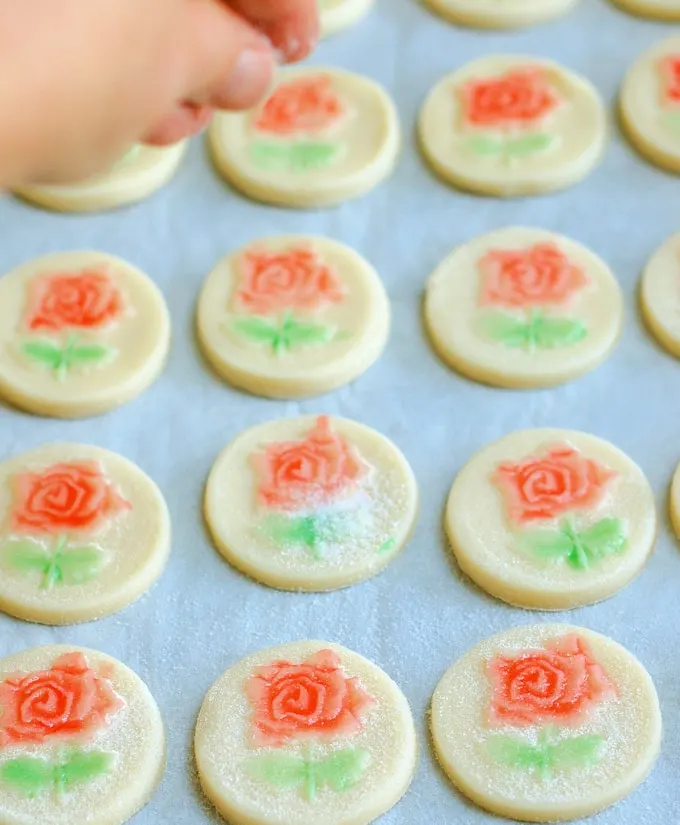
Click through the step by step process photos to see how to make painted rosewater cookies:
A little baking science about shortbread cookie dough:
This next section is for all us baking geeks! If you prefer to just follow the recipe and aren’t interested in the hows and whys, just skip to the recipe and go for it. If you’re into the hows and whys of recipe development, keep reading.
- Keeping the rose pattern intact and attractive was my main challenge for this cookie. If the cookies puff up and crackle in the oven then you can’t tell it’s a rose on top, and the whole effect is lost.
- First off, I use cake flour rather than all purpose flour. Cake flour is slightly acidic. Acidic foods don’t brown very well. I like a paler cookie to really show off the colors of the rose.
- During baking a more acidic dough will set faster than a more alkaline dough. Which is good, because the rose pattern will set before it has time to become distorted.
- I also switched the sugar in the dough from granulated to powdered sugar. During the creaming process, granulated sugar crystals cut through and aerate the butter. The air pockets expand in the oven giving rise to the cake or cookie. But a big rise in the oven would distort the rose pattern.
- Cookies made with powdered sugar will spread a little more than cookies made with granulated sugar. The finely ground sugar absorbs more moisture which softens the dough. But remember that the acidity of the cake flour does help the dough set faster in the oven, which corrects for any extra spreading caused by using powdered sugar.
If you love roses, I recommend this classic Coeur a la Creme with raspberry rose sauce and these romantic Raspberry Rose Bellinis or lovely little Raspberry Rose Tarts.
If you love this recipe as much as I do, please consider giving it 5 stars:
Rose Shortbread Cookies
Ingredients
- 1 large egg white
- red and green food coloring
- 8 oz unsalted butter (room temperature)
- 4 oz confectioner sugar
- ¼ teaspoon table salt
- 1 teaspoon rose water (adjust to taste)
- 10 oz cake flour (2¼ cups, see note)
- granulated sugar for topping
Instructions
The Day Before Baking:
- Lightly whisk the egg white to loosen it up then divide it between two small bowls. Tint the whites in one bowl with red food coloring and in the other bowl with green food coloring. Cover the bowls and refrigerate them overnight. The whites will liquify a bit over night and the color will become more even. This makes it easier to paint the cookies. This step can be done several days in advance.
Make the cookies:
- Combine 8 oz unsalted butter, 4 oz confectioner sugar, ¼ teaspoon table salt and 1 teaspoon rose water (start with a smaller amount and adjust to taste) in a mixer bowl and mix until softened and combined, do not aerate. Add 10 oz cake flour and mix just until a dough is formed. Taste the dough and add more rosewater if desired.
- Line a ½ sheet pan with parchment paper. On a lightly floured work surface roll the dough to ¼" thick.
- Use the cookie stamp to imprint the dough all over, keeping the imprints as close together as possible. Use a round cutter to cut out the stamped rounds.
- Line the cookies on the prepared sheet pan about ½" apart. These cookies don't spread much so you can put them fairly close together. Continue re-rolling, stamping and cutting until all the dough is used up.
- Use a small paint brush to paint the red-tinted egg whites onto the rose part of the pattern. Use the green to paint the leaves. Sprinkle the painted cookies with granulated sugar.
- Put the cookies into the refrigerator for at least 20 minutes (see note). Meanwhile, preheat the Oven to 350 °F.
- Bake the cookies until the center is set and the edges are just beginning to brown, about 20 minutes. If you’re oven bakes unevenly, rotate the tray halfway through baking.
Would you like to save this recipe?
As an Amazon Associate and member of other affiliate programs, I earn from qualifying purchases.


Please let me know where you purchased your stamp, I don’t like the ones I’m seeing on Amazon and love the pretty simplicity of yours. Thank you
Sorry, Donna. I bought that about 25-30 years ago.
Aww, these are so adorable! And you are very talented!
You get my vote for most beautiful dish this Sunday.
Thanks, Wendy!
I love your cookie stamp and the pretty rose design on each cookie. These look amazing!
Thanks, Betty Ann.
These are so pretty! What a lovely idea for Mother’s day. You always make it look easy Eileen even though I doubt it is easy at all 😉
Aww, thanks so much, Michelle.
These are simply beautiful! They seem like a lot of fun to make. The painting process would be very relaxing.
Thanks, Laura. They are fun to make and the cookie stamps come in so many different patterns.
Such pretty roses on these!
Thanks!
This is the perfect cookie for Mother’s Day… thanks for sharing 🙂
Thanks, Maria.
These cookies are beautiful. Thanks for sharing all your recipe development notes too – there’s some great info there.
It’s my pleasure, Lynne.
You make these with such love. They are absolutely gorgeous…
Thanks, Monica.
These cookies are absolutely gorgeous! I love the how they turned out and can’t wait to try the technique!
Thanks, Carlee. I hope you give it a try. There are so many of those cookie stamps for all occasions. I have one with a Christmas tree that I use for the holidays.
Perfect post for Mother’s Day. Just beautiful! Your work is lovely and I look forward to seeing future Sunday Supper posts. One of my favourites.
Well thanks, Kimberlie. I’m a fan of your blog too.
Great post and such beautiful cookies!