How to Build a 4 layer Cake
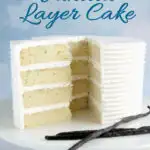
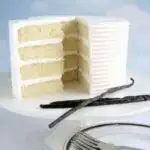
Learn how to make the quintessential layer cake. I’ll teach you how to build a 4 layer cake that looks professional and elegant with no wonky layers or lopsided frosting.
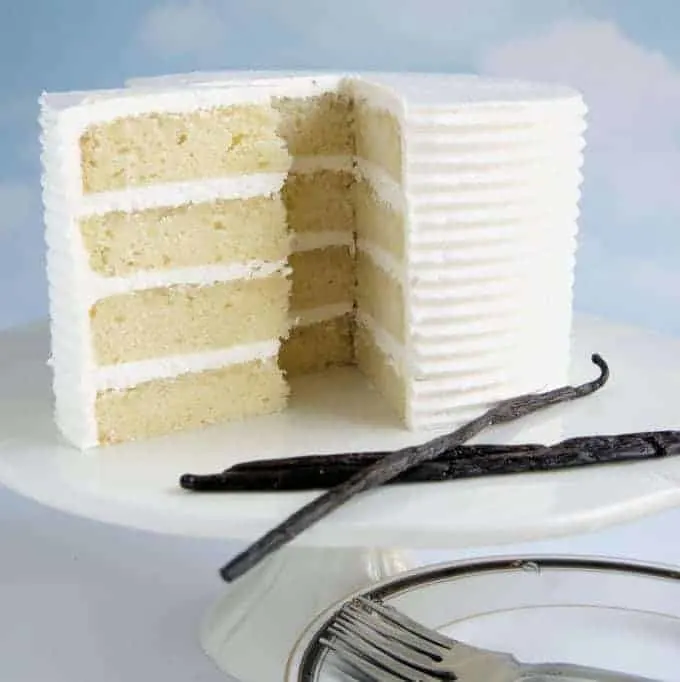
Unlike almost every page of Baking Sense, this post is not centered on a single recipe, but rather illustrates how to assemble a beautiful 4-layer cake. No separating layers, no unsightly brown edges and no lopsided cakes.
You can decorate the cake or do a casual “Betty Crocker” swirl. Either way your guests will be impressed.
How to build a 4 Layer Cake
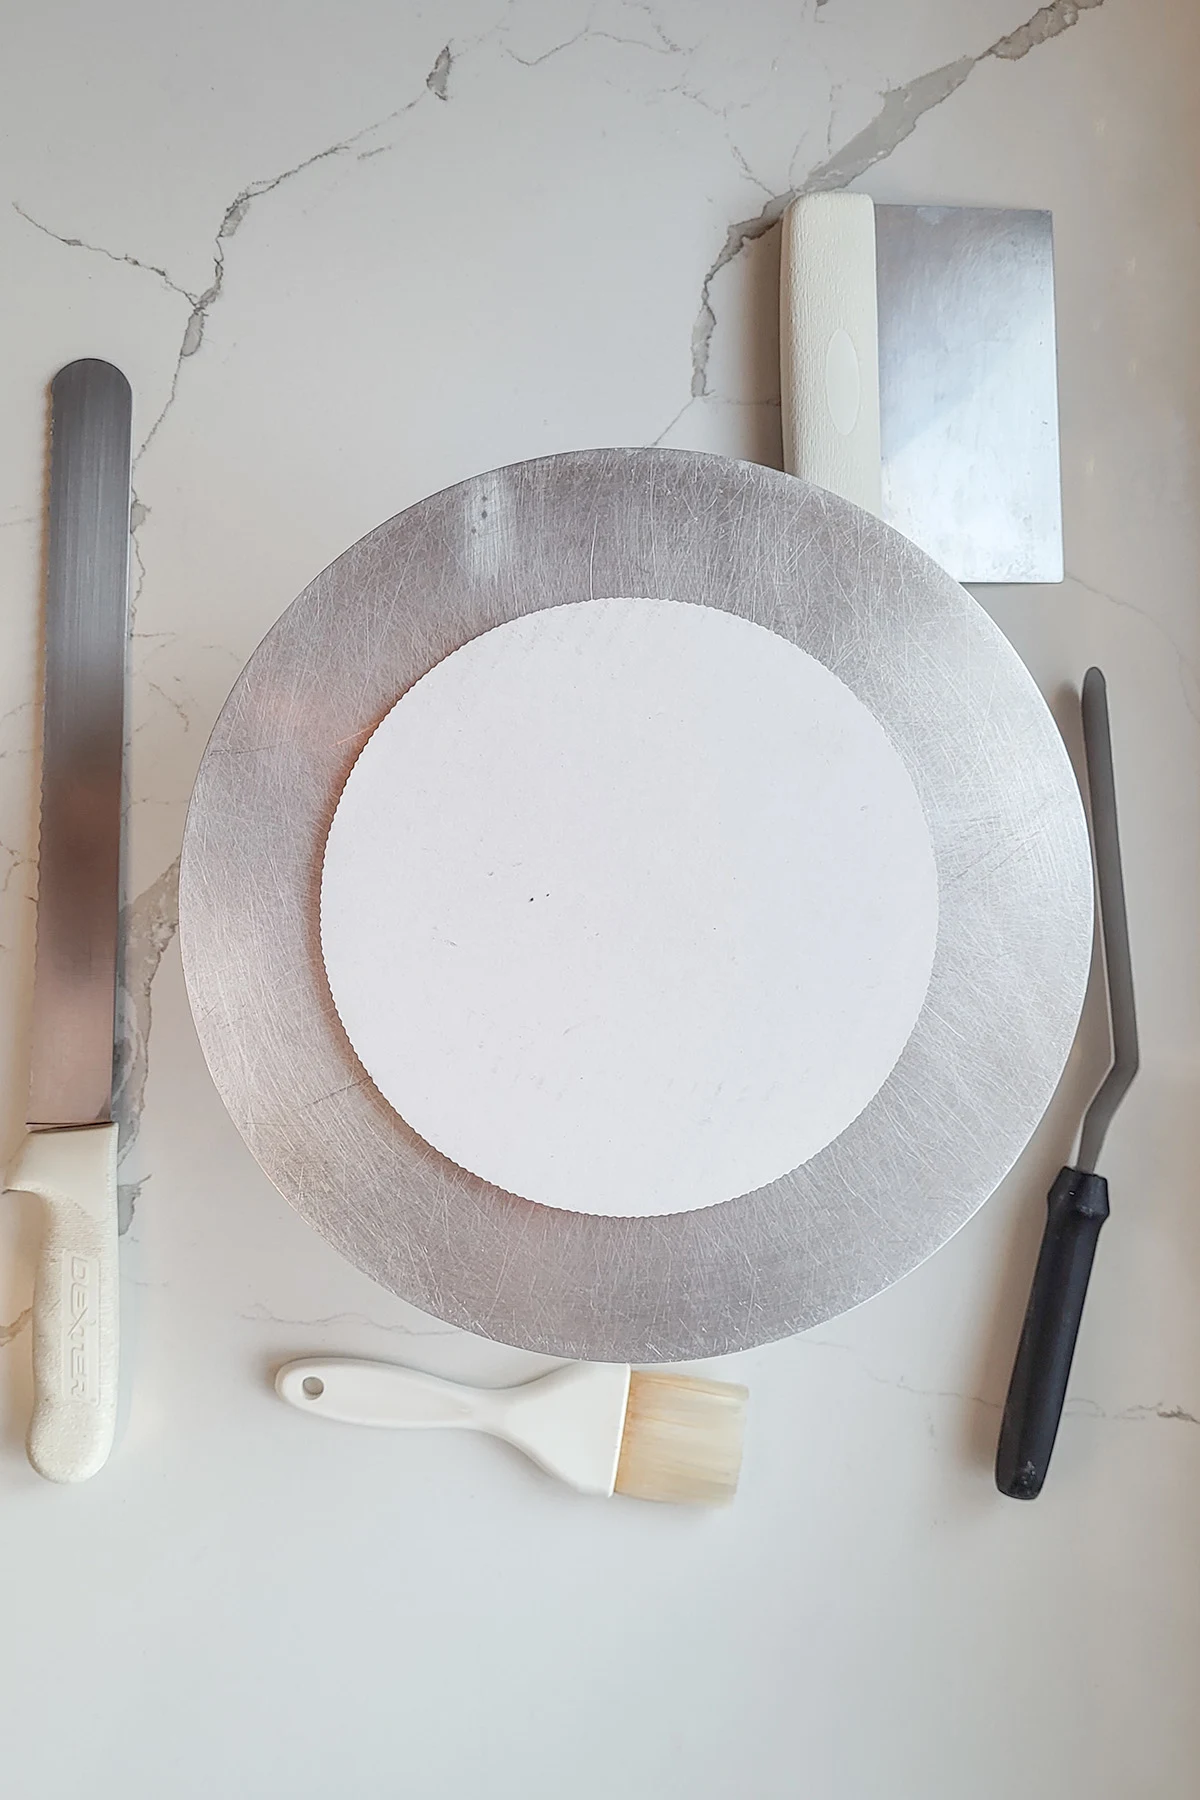
- Gather your tools for building a layer cake.
- A cake turntable is not necessary for building a layer cake, but it makes it much easier.
- A long serrated knife is needed for trimming and torting the cake.
- You’ll use an offset spatula and a bench scraper for icing the cake, although you can certainly ice a cake with any type of spatula or even a butter knife.
- A pastry bush is used for brushing a layer of flavorful syrup on the cake layers. This is not a mandatory step but does keep the cake moist and flavorful.
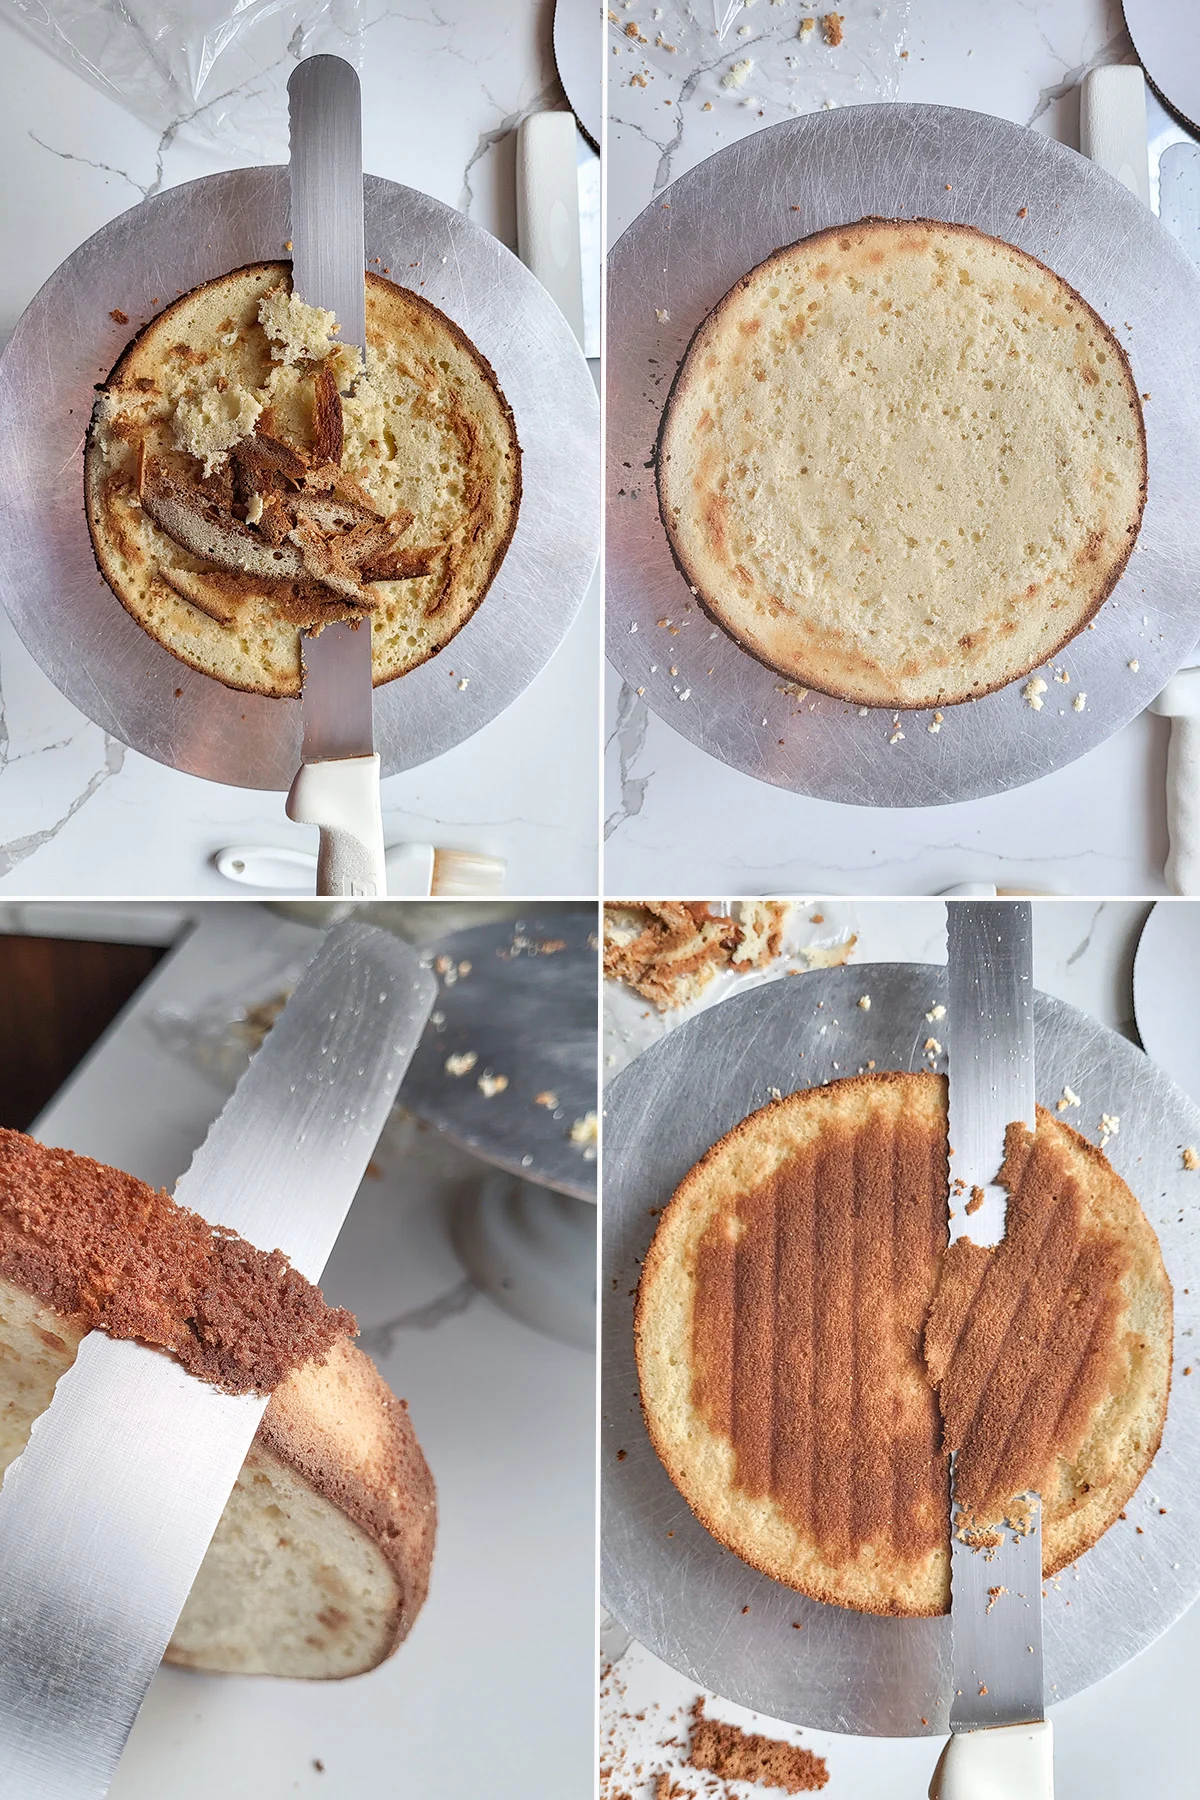
- The brown crust on a cake that’s eaten without icing, like a pound cake, can be quite nice. But the crust can get gummy within an iced cake.
- Start by using your serrated knife to trim off the domed tops of each cake. By cutting off the domed top of the cake you’ll end up with a beautifully level and symmetrical cake that is as lovely to see as it is to eat.
- Hold the cake on it’s side and use a steady sawing motion to trim the brown edges from the sides of the cake.
- Flip the cake over and trim the brown bottom crust. You have a nicely trimmed cake.
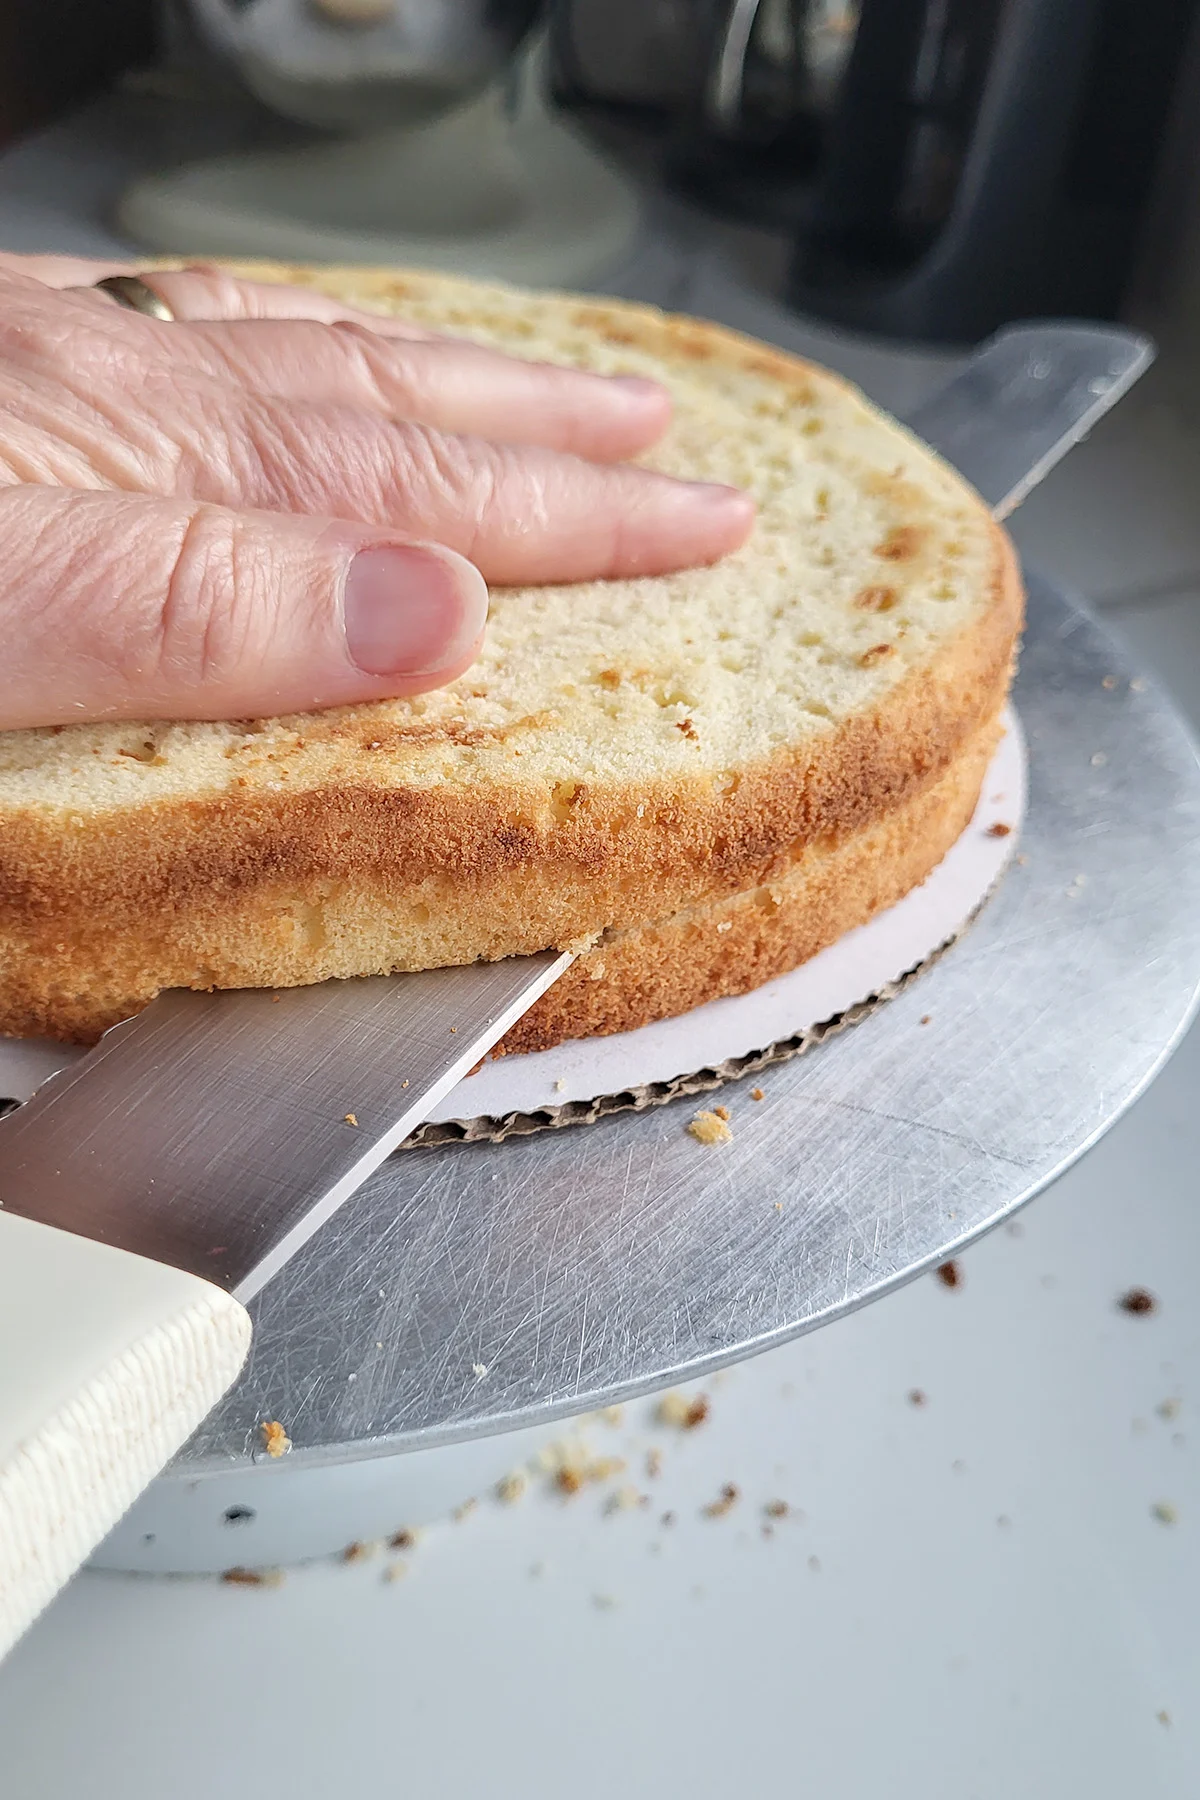
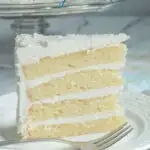
- Split each cake in two (this is called “torting) for a total of four layers.
- Torting the layers creates a more balanced bite of cake with even layers of cake and filling rather than two thick layers of cake and one layer of filling.
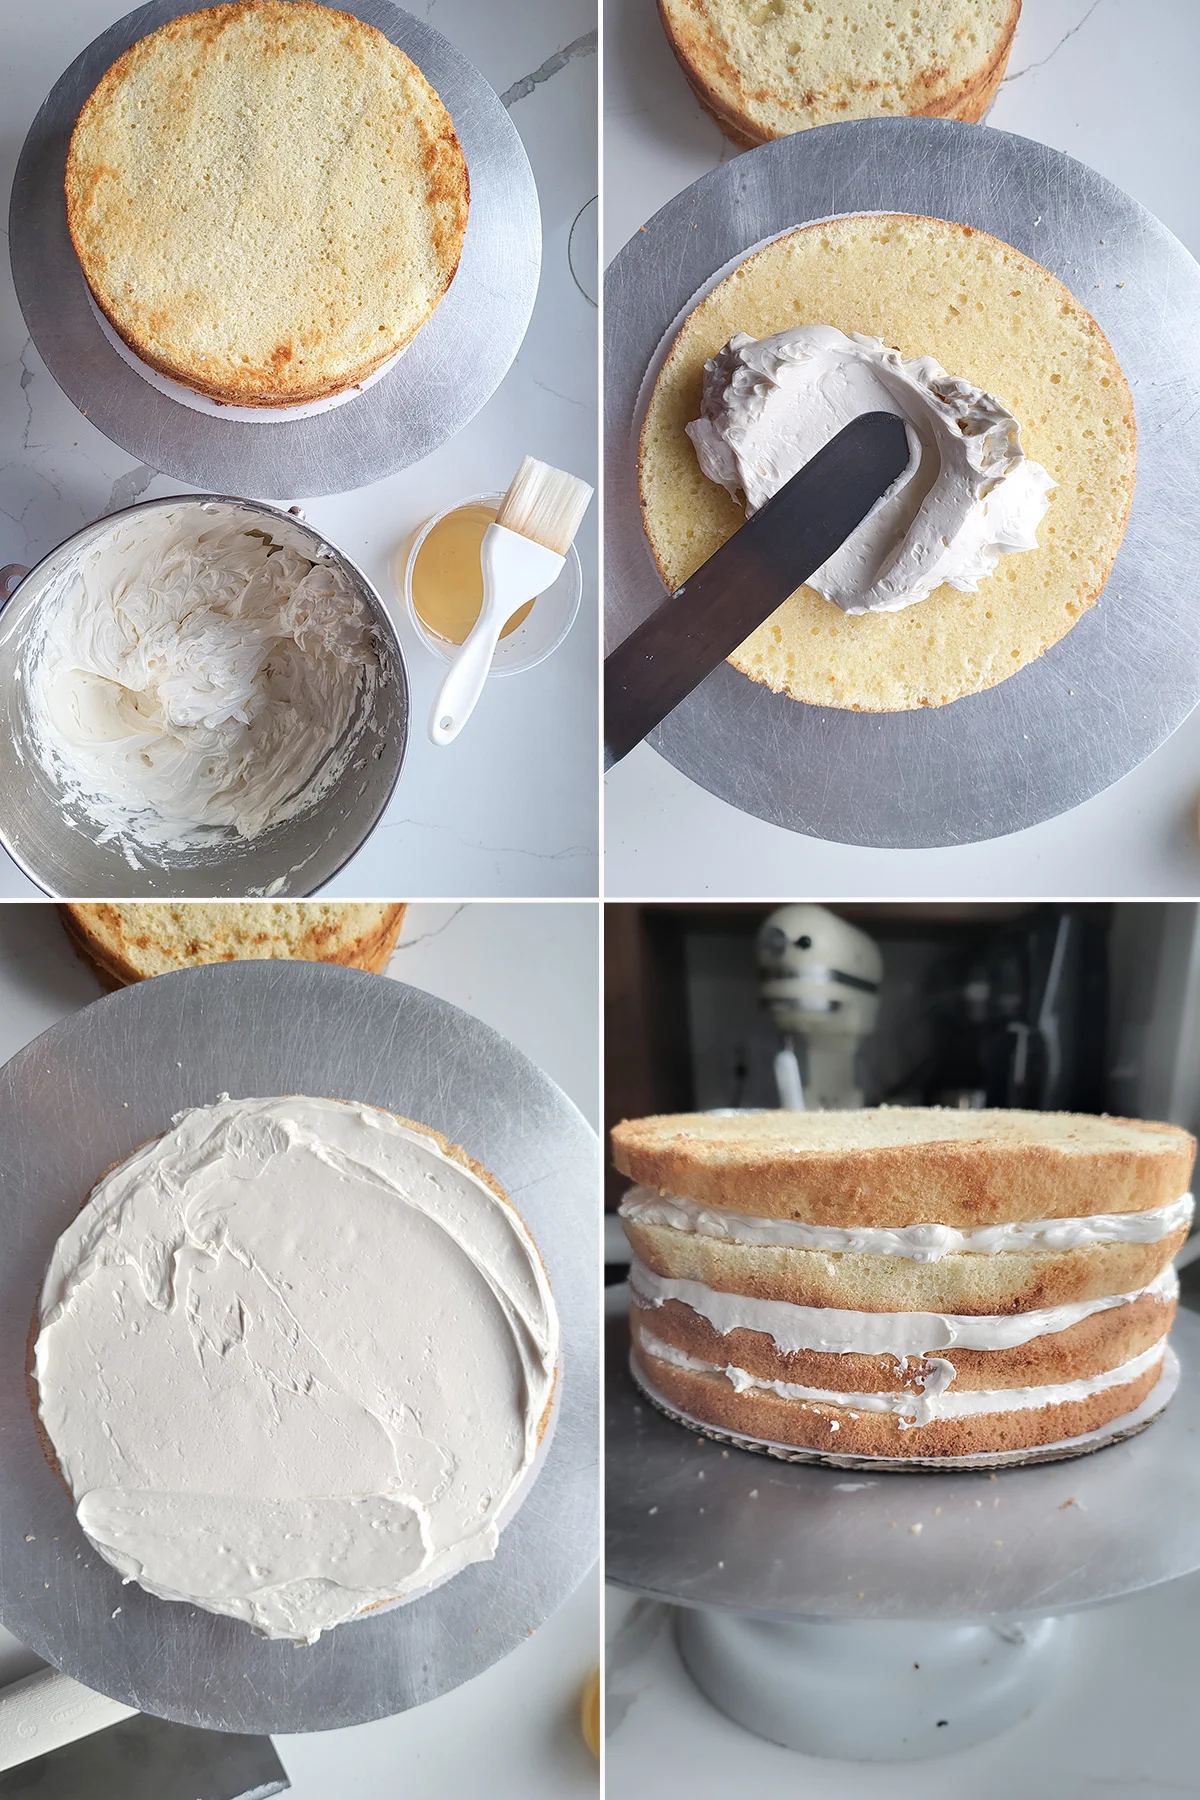
- Place your cake layers on a cardboard cake circle or on a serving plate. If you are using a cake turntable set the cake onto the turntable. Gather your frosting and syrup if you are using one.
- Brush the first layer of cake with syrup. In the bowl, separate the frosting into about 2 equal portions. Use 1/3 of one portion for the first layer.
- Spread the frosting so it is even on the layer.
- Continue with the other 3 layers, reserving about half the total frosting for icing the cake.
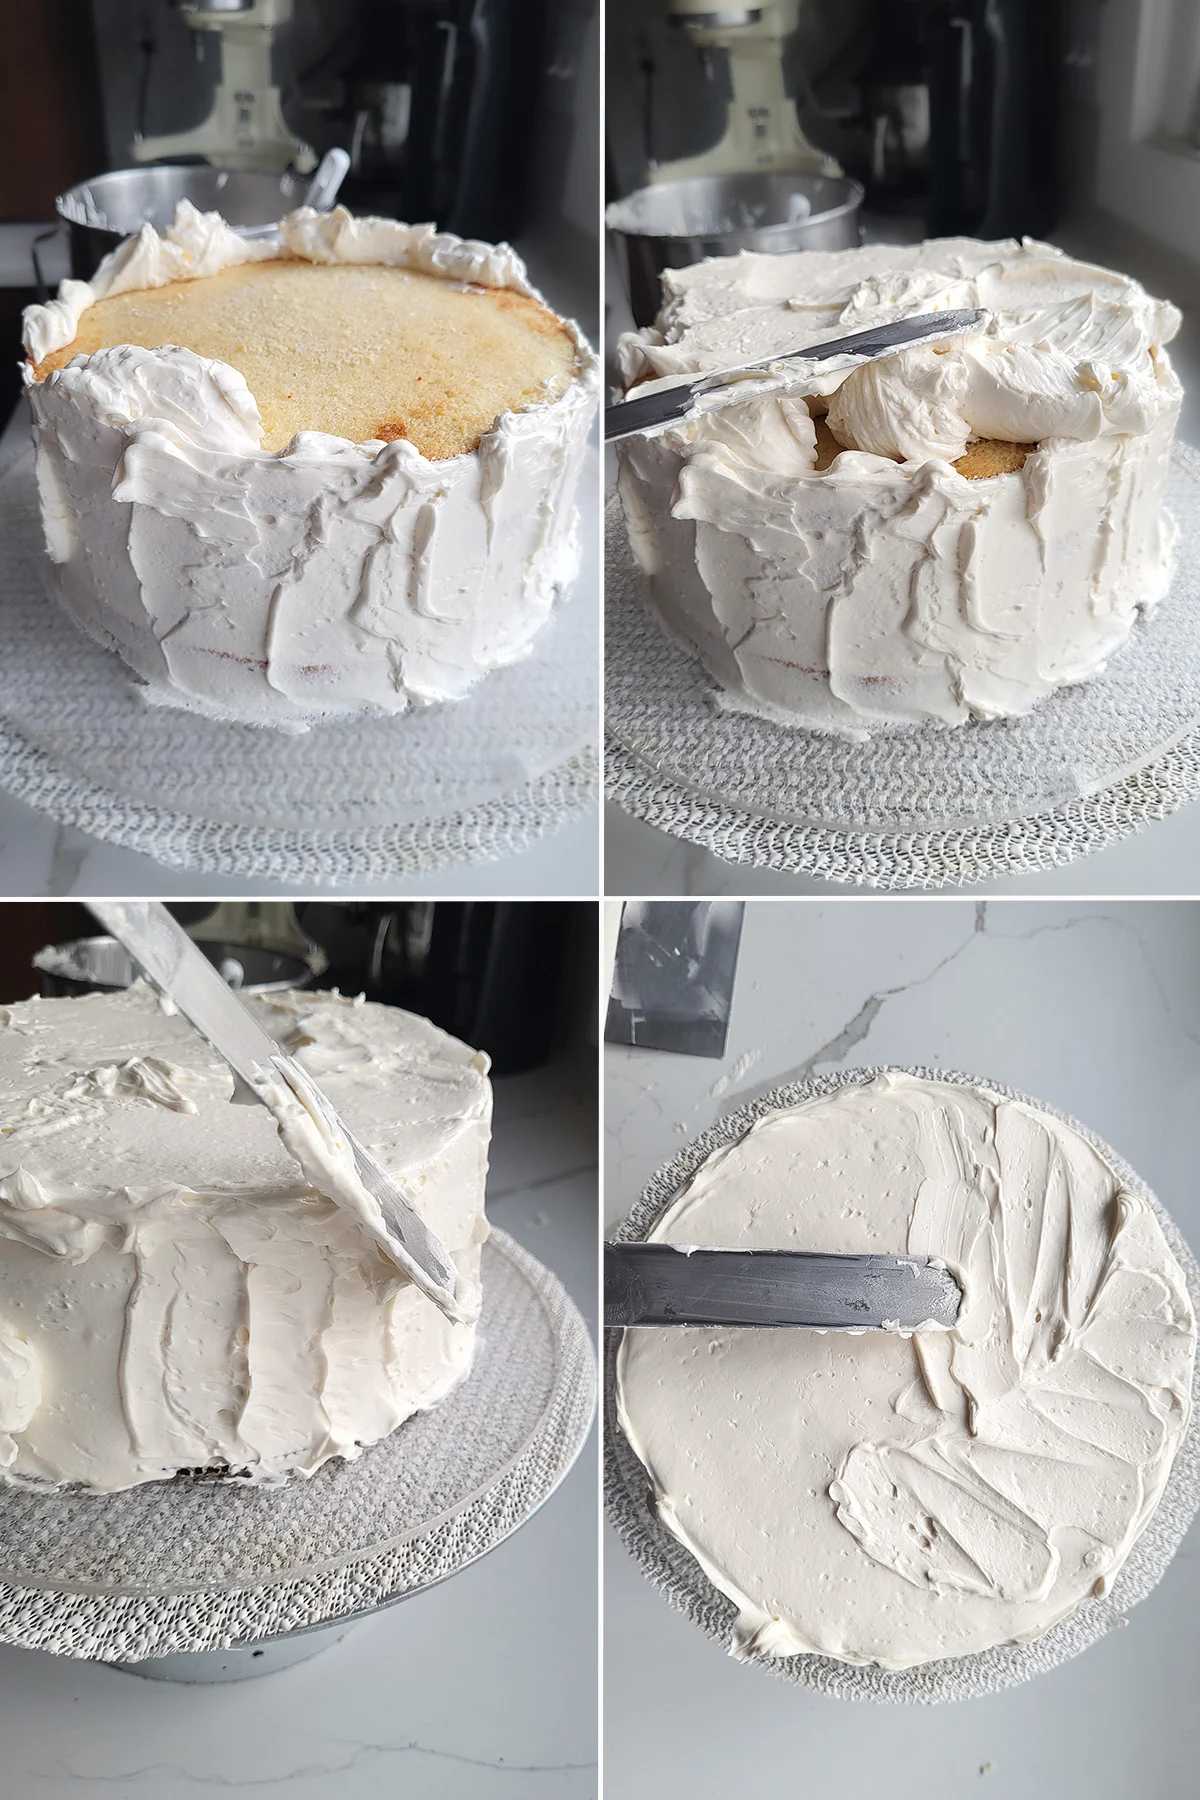
- Start by covering the sides of the cake. Spin the turntable as you apply a thick layer of frosting.
- Cover the top of the cake with the rest of the frosting. Spread so the top frosting meets the sides.
- Use your spatula to swirl the frosting on the sides of the cake into a pretty pattern. Spin the turntable as you go. Try to keep the sides of the cake straight and you frost.
- Swirl the frosting on the top of the cake, spinning the turntable as you swirl to get an even layer.
- If you’d like to smooth-ice the cake like you see in a bakery, watch this video that shows how to ice a cake like a pastry chef.
- No turntable? No problem. You can use the same technique with the cake on a plain plate. Just turn the plate like you would the turntable. It’s not quite as easy without a turntable, but it does work.
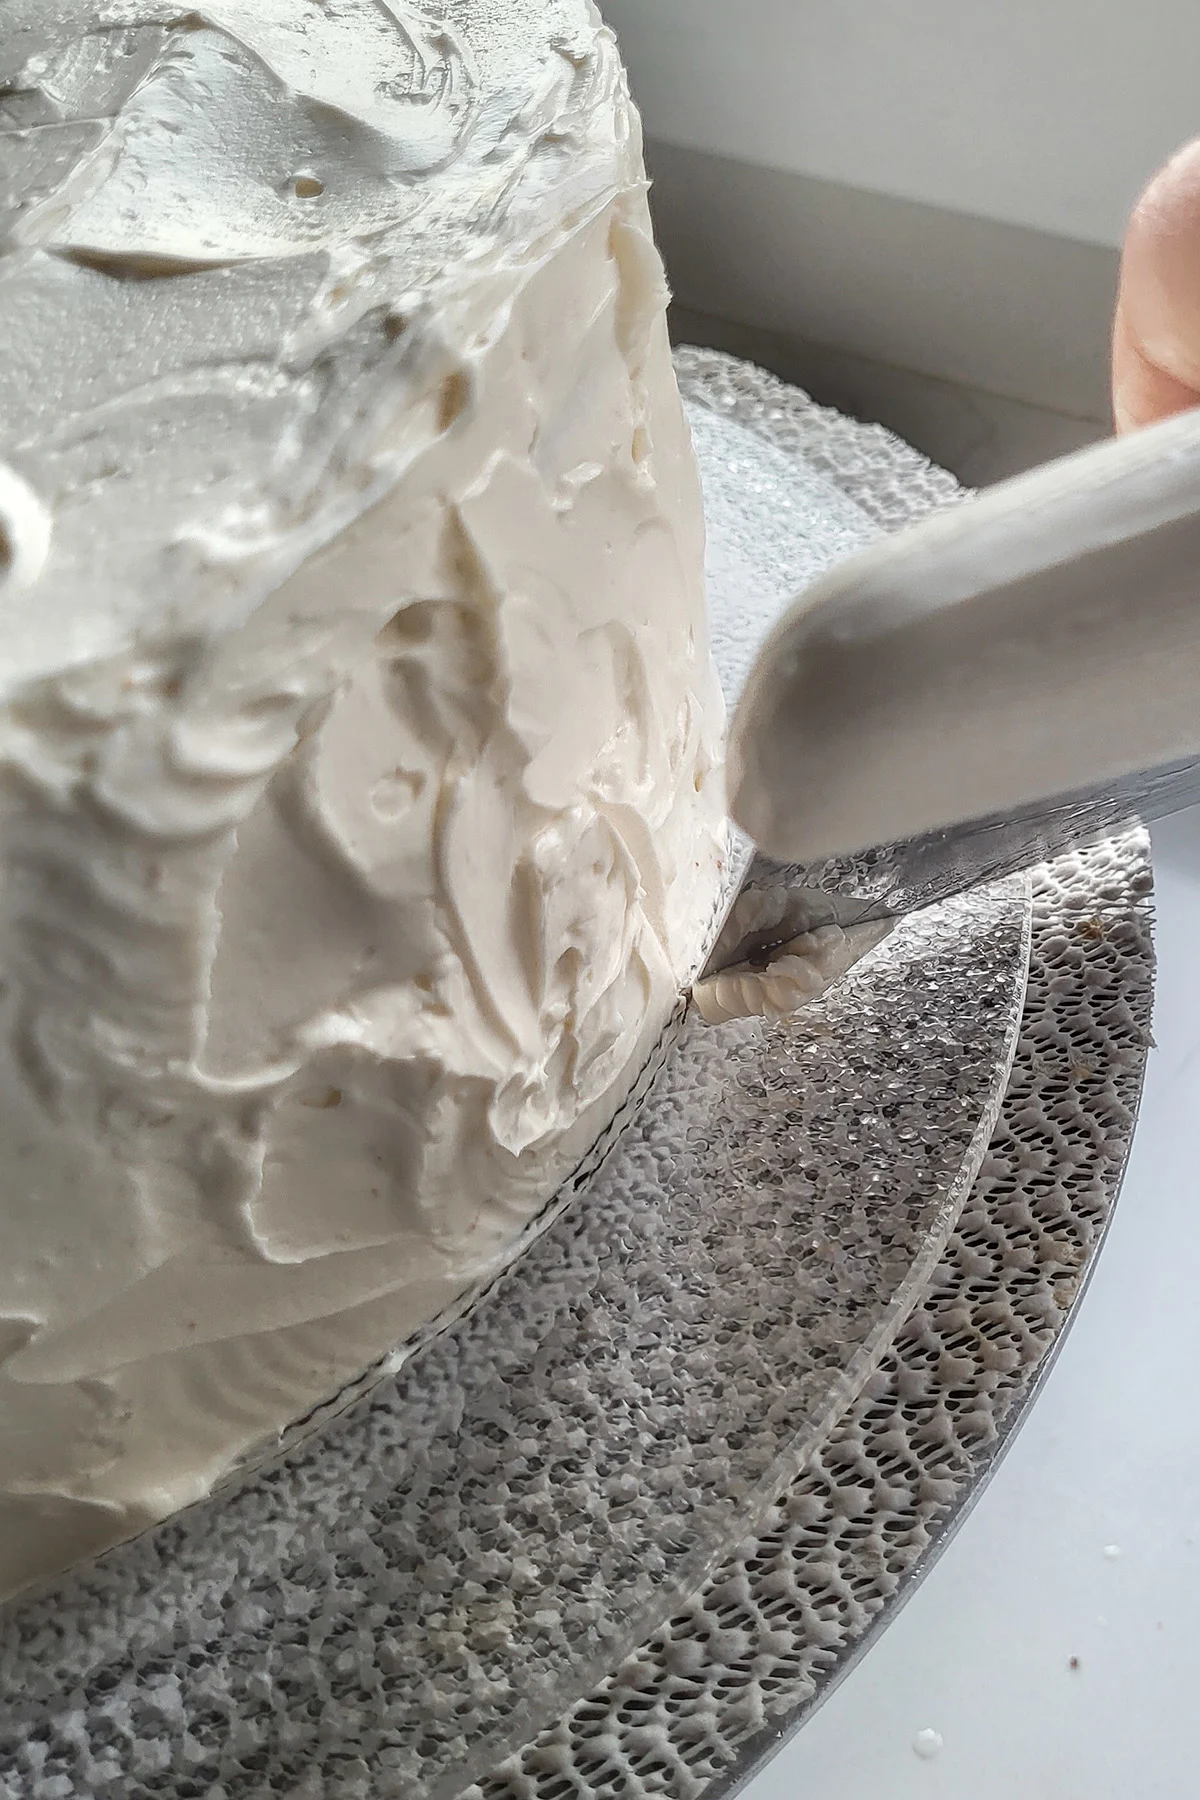
- Use the edge of a bench scraper or a butter knife to scrape away the excess frosting around the bottom of the cake as you spin the turntable.
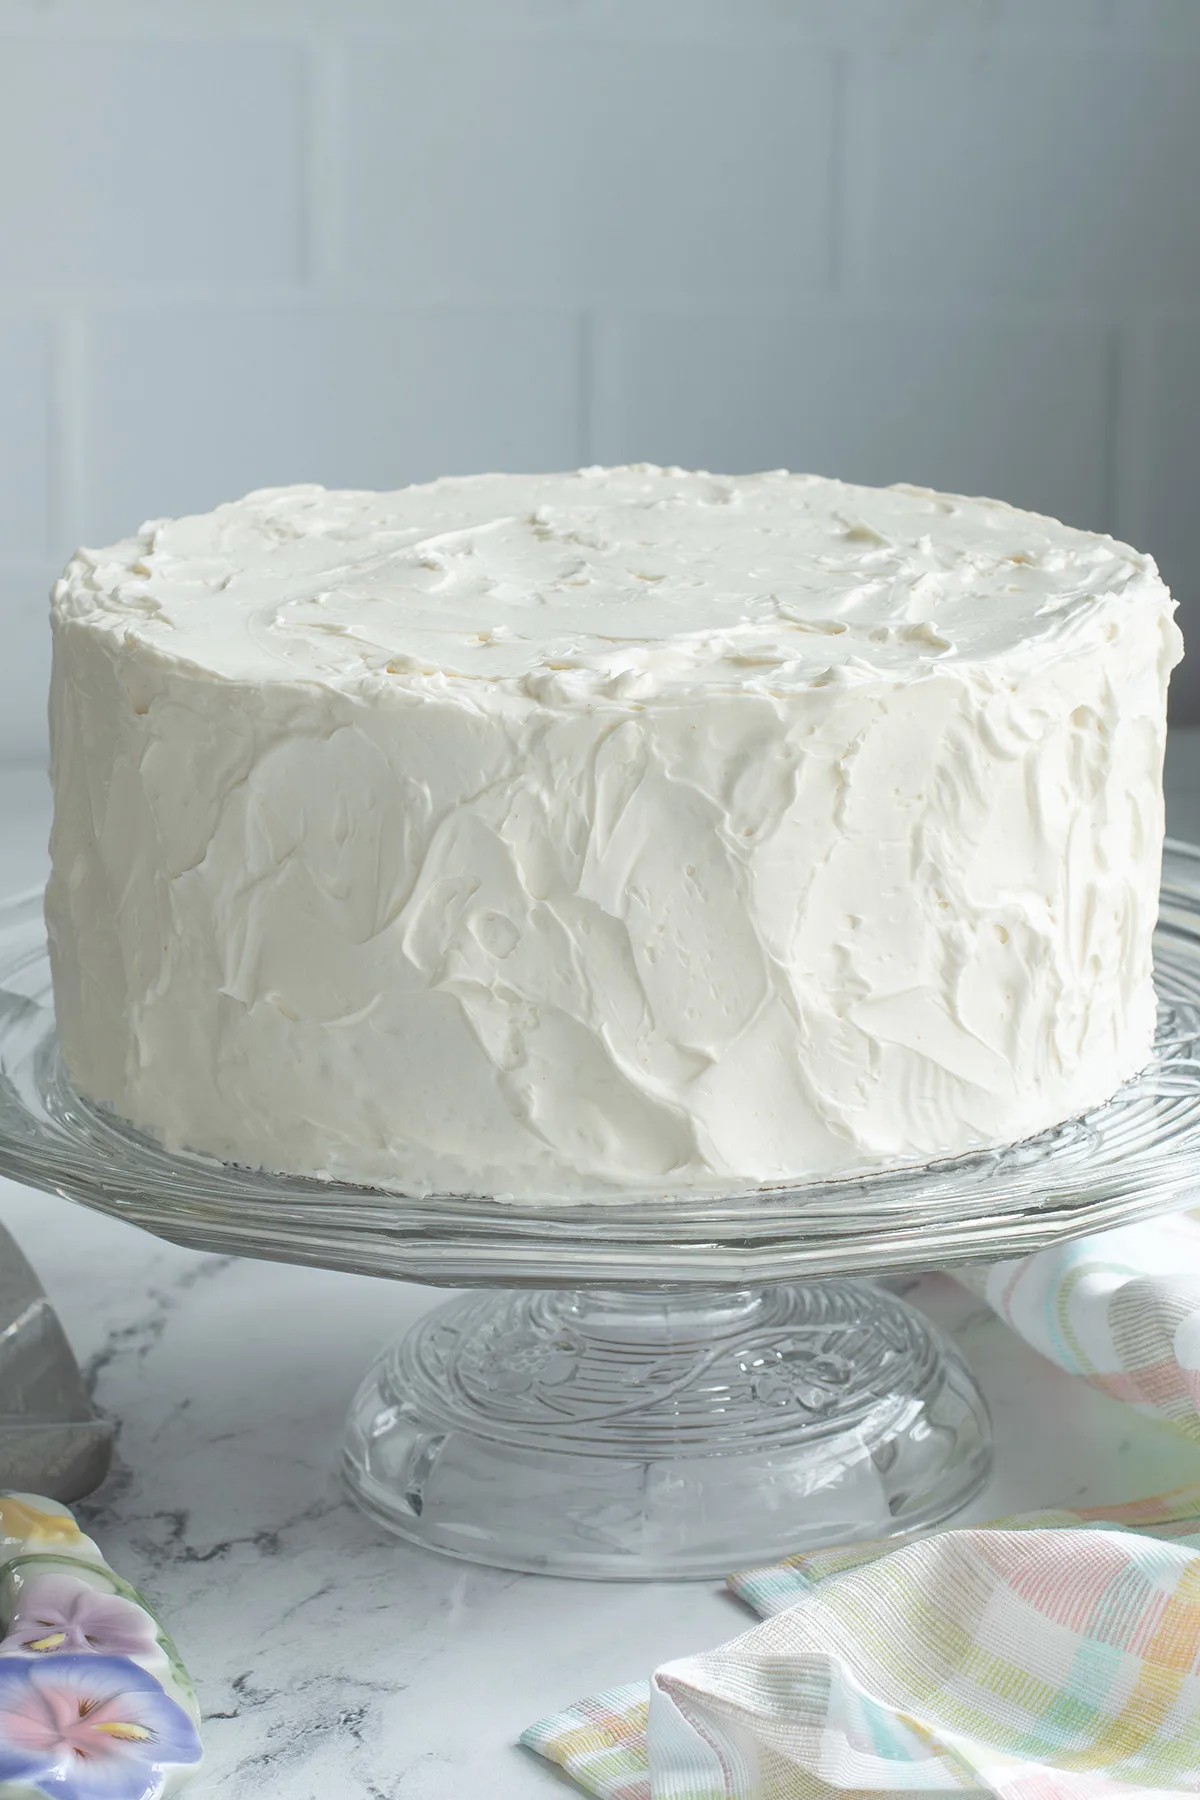
- Transfer the cake to a serving platter or cake stand.
Watch the video to see how to assemble a 4 layer cake:
If you find this information helpful, I’d love a 5-star review
How-to: Build a 4 Layer Cake
This is the quintessential layer cake, simplified. Learn how to make perfectly beautiful layer cakes every time.
cake
Save Recipe
Ingredients
- Two 8″ cakes
- 1 Recipe Buttercream
- 1 Recipe Flavored Simple Syrup
- 8 ” Cardboard Cake Circle
Instructions
- Trim the sides, bottom and top of each cake then split the cakes in 1/2 horizontally so you have 4 layers.
- Flip the cakes so that the flat side of one cake is facing the bottom and the flat side of the other cake is on top,
- Divide the buttercream in 1/2, reserve one 1/2 for icing the cake, use the remaining for filling
- Place the bottom layer on your cardboard cake circle or serving platter. Brush the layer generously with rum syrup,
- Place 1/3 of the filling buttercream on the layer and spread it evenly to the edges. Repeat with the next three layers.
- Ice the sides and top of the cake with the reserved buttercream.
- Serve at room temperature
As an Amazon Associate and member of other affiliate programs, I earn from qualifying purchases.
Video
Have you tried this recipe?Mention @eileen.bakingsense or tag #bakingsense!



Does this need any type of support? Dowels or a cake board between layers? I plan on putting a fondant figurine on top as part of a birthday cake. It’s fairly heavy.
These instructions are for a 4 layer cake, as opposed to a 4 tier cake. A four layer cake (one cake with four layers inside) does not need any support. A 4 tier cake (4 cakes stacked on top of each other) definitely needs support. My favorite support for tiered cake is bubble straws. Each cake should have a cardboard cake circle beneath it.
Easy instructions
Do you have any tips for refrigeration/making this cake a day ahead of time? Looks lovely!
Are you baking the cake a day ahead, or filling and finishing the cake the day before serving? The cake itself does not need to be refrigerated. If you are going to trim and torte (split each cake into 2 layers) it is easier to do with a chilled cake. Once the cake is filled and assembled it only needs to be refrigerated if you have a frosting or filling that must be kept chilled.
You have great write up, I always read your blog. and I must say you are doing good job, plz do write like this.
Thanks.